 Free shipping on orders over £29,85

How do you build a resin sand pool?
Step-by-step guide for durable, natural-looking pool surrounds


If you’re dreaming of a pool surround that combines the rugged beauty of sand with the practicality and durability of resin, constructing a resin sand pool is the perfect solution. This guide walks you through the process, from base preparation to finishing touches, so you can achieve a stunning, slip-resistant, and low-maintenance pool area that truly stands out.
What You’ll Need
- “Flowstone” – Complete Permeable Floor Kit with Pebbles and Resin: A complete system for creating a permeable, decorative surface suitable for pool surrounds.
- “Trasparente” – Epoxy Binder for Coloured Pebbles and Grits: For use with coloured or dark decorative aggregates.
- “Polirock” – Polyurethane Binder for White Stones, 2kg Two-Component Kit: Optimal for bound white or natural stones without yellowing.
- Natural Sand for Art Decoration – Decorative Sand for Epoxy Resin Artwork: Adds sandy texture and effect.
- Site preparation tools (shovel, rake, compacting roller or plate)
- Protective gloves and mask
- Mixing bucket and trowel

Essential tools and materials for resin sand pool projects
Plan ahead and organise all the kit you need before starting work on your resin sand pool. This includes mixing buckets, protective gloves, a quality resin and pebble kit, and the right resin binders for your chosen aggregates. Careful preparation results in a smooth, durable finish that won’t disappoint.

Step 1: Prepare and Level the Foundation
Begin by carefully marking out the perimeter of your intended pool surround. Excavate the area to the required depth—typically about 15–20 cm—ensuring the entire surface is free from roots, debris, and old paving material. Compact the soil or any existing base thoroughly for stability.
For best results, install a sub-base of compacted hardcore or gravel to aid water drainage. This layer helps prevent shifting and enhances the long-term durability of your resin sand pool surface. Edging should be installed at this stage to define the shape and retain materials during installation.
Step 2: Lay the Screed or Base Layer
For pool surrounds, a stable and water-draining screed or concrete base works best. Pour the screed mixture and allow it to cure fully according to the manufacturer’s guidelines and local climate conditions. Ensure the surface is smooth and level, but with a gentle slope away from the pool edge to aid drainage and avoid puddling.
Take care to avoid uneven spots, which could affect the final layer’s permeability and aesthetics.
Step 3: Mix and Apply the Resin-Sand or Resin-Pebble Layer
Once the base is ready, it’s time to prepare your resin-bound blend. Select your chosen decorative aggregate—such as sand, pebbles, or a mix. Use “Trasparente” – Epoxy Binder for Coloured Pebbles and Grits for coloured stones, or “Polirock” – Polyurethane Binder for White Stones if working with white or light stones to prevent yellowing. For sandy textures, Natural Sand for Art Decoration can be blended into the mix to create an authentic beach effect.
Combine the aggregate and binder in a clean bucket. Mix thoroughly until all grains or stones are evenly coated and glistening, ensuring full encapsulation by the resin. Pour the mixture onto the base and spread evenly with a trowel to your desired thickness—normally 12–18 mm for pools. Work methodically in sections, pressing lightly to compact the mix while maintaining a permeable finish.

Step 4: Finishing, Sealing, and Curing
With the resin and aggregate spread out, smooth the surface with a clean float or trowel. If desired, sprinkle an additional layer of sand or fine pebble for extra texture before the resin sets. Leave the installation to cure as recommended—typically 24–48 hours—but always check product instructions based on weather and humidity.
For enhanced longevity and easier cleaning, consider applying a final clear sealer once the primary surface has fully cured. This step reinforces UV resistance, stain protection, and slip-resistance as appropriate for poolside environments.

Tips and Common Mistakes to Avoid
- Always choose the right binder for your aggregate type—use polyurethane for white stones, epoxy for coloured pebbles, and natural sand for textured detailing.
- Ensure the base is stable and well-draining to prevent future cracking or movement.
- Work in suitable weather for best curing; avoid application during heavy rain, high humidity, or temperatures below 10°C.
- Mix sand or pebbles evenly for a uniform look; poorly mixed sections may lead to colour variation or weak spots.
- Seal the floor for added protection, especially in high-traffic or exposed locations.
Top mistakes to avoid with resin sand pool installations
Incorrect binder selection can ruin your effort—match resin type with the aggregate. Rushing the mixing or curing process may result in weak spots or an uneven texture. Take your time, and your resin sand pool surface will be both beautiful and long-lasting.

- "Flowstone" – Complete Permeable Floor Kit with Pebbles and ResinPrice range: £42.85 through £3,389.85"Flowstone" complete draining floor kit provides a durable, permeable pebble and resin system for outdoor UK spaces with simple application.
- "Trasparente" – Epoxy Binder for Coloured Pebbles and GritsPrice range: £31.85 through £948.85"Trasparente" is a transparent epoxy binder designed for coloured pebbles and grits, offering a clear, UV-stable, bubble-free finish suitable for…
 "Polirock" – Polyurethane Binder for White Stones, 2kg Two-Component Kit£58.85"Polirock" polyurethane binder is a two-component kit suitable for durable, clear outdoor stone surfaces with weather and UV resistance.
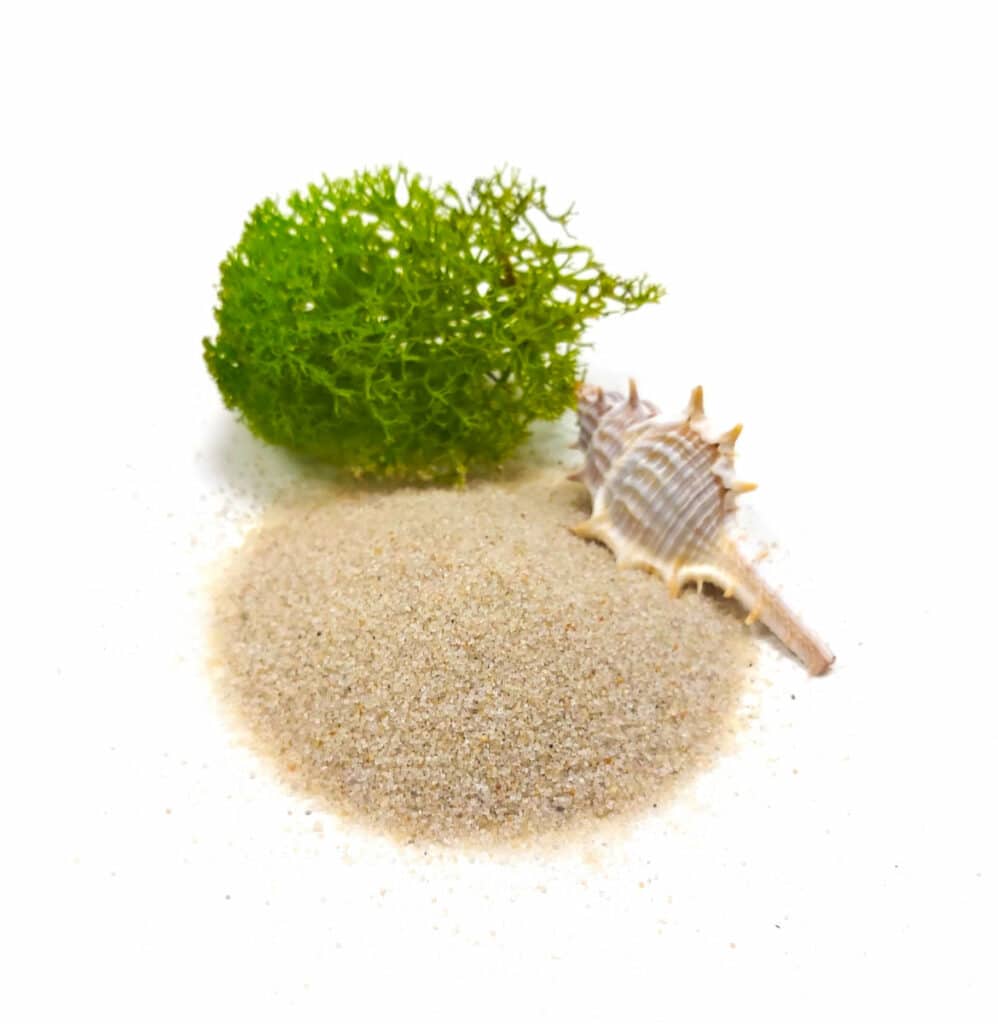 Natural Sand for Art Decoration – Decorative Sand for Epoxy Resin ArtworkPrice range: £2.15 through £10.85Natural sand suitable for epoxy resin artworks with a marine theme. Designed to add authentic sandy textures to resin projects.
Frequently Asked Questions
What are the surface preparation requirements for a resin sand pool?
A stable, compacted and level base is critical. Ensure good drainage and a smooth finish to maximise adhesion and prevent future movement or cracks.
How do you mix aggregate with resin for a pool surround?
Use a clean bucket and mix aggregate and resin thoroughly until evenly coated. Spread evenly and compact for a uniform, durable finish.
Can I use white stones or coloured pebbles?
Yes. Use a polyurethane binder for white stones to avoid yellowing, or an epoxy binder for coloured pebbles for a vibrant, lasting finish.
What is the curing time for resin sand and pebble surfaces?
Typically, resin-bound aggregate surfaces cure within 24 to 48 hours. Follow product guidance and allow longer in cooler or damp conditions.
Do I need to seal the resin sand pool finish?
Sealing is optional but recommended for pool surrounds. It protects against stains, boosts UV resistance and enhances durability.
Can resin sand pools be used in the UK climate?
Yes. Resin sand and pebble finishes are suitable for the UK climate, offering excellent drainage and weather resistance when installed correctly.