 Free shipping on orders over £29,85


how do you make a resin wheel mould?
Creating your own resin wheel mould opens up endless possibilities for unique DIY projects, whether you are making custom coasters, model wheels, or decorative pieces. This guide will walk you through the process from planning and preparation to finishing touches, ensuring professional results even if you are new to mould making.
Step-by-step guide to crafting resin wheel moulds at home


What You’ll Need
- “Pure Mould” – Translucent Liquid Silicone Rubber for Mould Making – Ideal for creating a detailed, flexible mould compatible with various casting materials.
- “Silicone Circle Mould” – For Creating with Epoxy Resin, Ø 20cm – Suitable for simple resin wheel projects with a ready-made circular base.
- “O” – Geode Coaster Silicone Mould – 13cm – Useful if you want a smaller diameter or textured effect.
- Round Tray Silicone Mould ⌀26cm for Coasters and Trays – For larger or tray-style wheel moulds.
- Resin (epoxy or urethane for the casting phase)
- Modelling clay, adhesive, or hot glue (for sealing template to base)
- Mixing sticks, disposable cups
- Nitrile gloves and safety glasses
- Digital scale
- Template or master wheel (the object you want to duplicate)
- Craft knife

Essential Materials for Resin Wheel Moulds
High-quality silicone rubber ensures detailed and flexible moulds tailored for wheel crafting. Choose ready-made round silicone moulds for simple, repeated shapes, or create a custom mould using translucent silicone to capture fine details. Preparation and cleanliness are key for crisp, professional results.

Step 1: Plan and Prepare Your Workspace
Choose a clean, dust-free, and level surface to work on—this will help ensure your mould sets evenly and remains free of contaminants. Lay down protective sheeting or newspaper. Gather all your tools and materials in reach before starting.
Wear nitrile gloves and safety glasses to avoid contact with uncured resin or silicone.
Place your template or master wheel on a flat base, such as rigid plastic or acrylic sheet. Make sure it is secure and the edges are sealed using modelling clay or hot glue to prevent silicone from leaking underneath.
Step 2: Mix and Pour the Silicone Rubber
Carefully read the instructions for your chosen silicone rubber. If you are constructing a custom mould, “Pure Mould” – Translucent Liquid Silicone Rubber for Mould Making is strongly recommended for its easy 1:1 mixing ratio and ability to capture fine details.
Measure materials with a digital scale for reliability.
Mix the two silicone components thoroughly but gently to minimise air bubbles. If needed, tap the cup or use a vacuum chamber (optional) to remove trapped air. Pour the silicone slowly and steadily over your template, starting from one side so it flows evenly over the model.
The silicone should fully cover your template, with a minimum thickness of 10mm above the tallest point for durability.
Step 3: Allow the Mould to Cure & Demould
Consult the specific curing time on your silicone packaging—some fast formulas can be ready in as little as 3–8 hours. Avoid moving the mould during the cure process, and keep the workspace free from dust or debris.
Allow the mould to cure fully before demoulding.
Once completely set, gently remove the silicone from the base. Peel back the material slowly so you do not tear thin edges or damage details. Remove the original template from the mould and inspect for any defects or air pockets.

Step 4: Cast Your Resin Wheel
Place your silicone mould on a flat surface. Prepare your resin according to the product instructions (epoxy and polyurethane resins are typical choices for wheel casting). You can use a ready-made mould such as “Silicone Circle Mould” – For Creating with Epoxy Resin, Ø 20cm if you wish to skip creating a custom wheel shape.
Pour resin slowly to reduce bubbles.
Allow the resin to cure undisturbed, following the stated time for your resin type. Once cured, separate the finished resin wheel from the silicone mould and proceed with any desired post-processing or decoration.

Tips, Common Mistakes and Troubleshooting
Ensure your template is dust-free to prevent surface imperfections.
Work at recommended temperatures (generally 20–25°C) for optimal silicone and resin processing.
Avoid under-mixing your silicone, as this can lead to soft, sticky, or uncured areas in the mould. Do not disturb the mould while it cures, as any movement can introduce defects.
If your resin piece has air bubbles, breathe gently over the wet surface to help pop them, or use a heat gun very lightly.
Extra Advice for Resin Mould Success
Take your time with pouring and curing stages for best results. Consider testing with a small batch first to check for leaks or pattern flaws. Translucent silicone rubber lets you spot air pockets and bubbles more easily during the moulding process.

- "Pure Mould" – Translucent Liquid Silicone Rubber for Mould MakingPrice range: £22.85 through £158.85"Pure Mould" is a translucent, fast-curing liquid silicone rubber suitable for making moulds compatible with various materials including resins and…
- "Silicone Circle Mould" – For Creating with Epoxy Resin, Ø 20cm£12.85Flexible silicone mould designed for creating decorative epoxy resin objects such as coasters and artistic pieces.
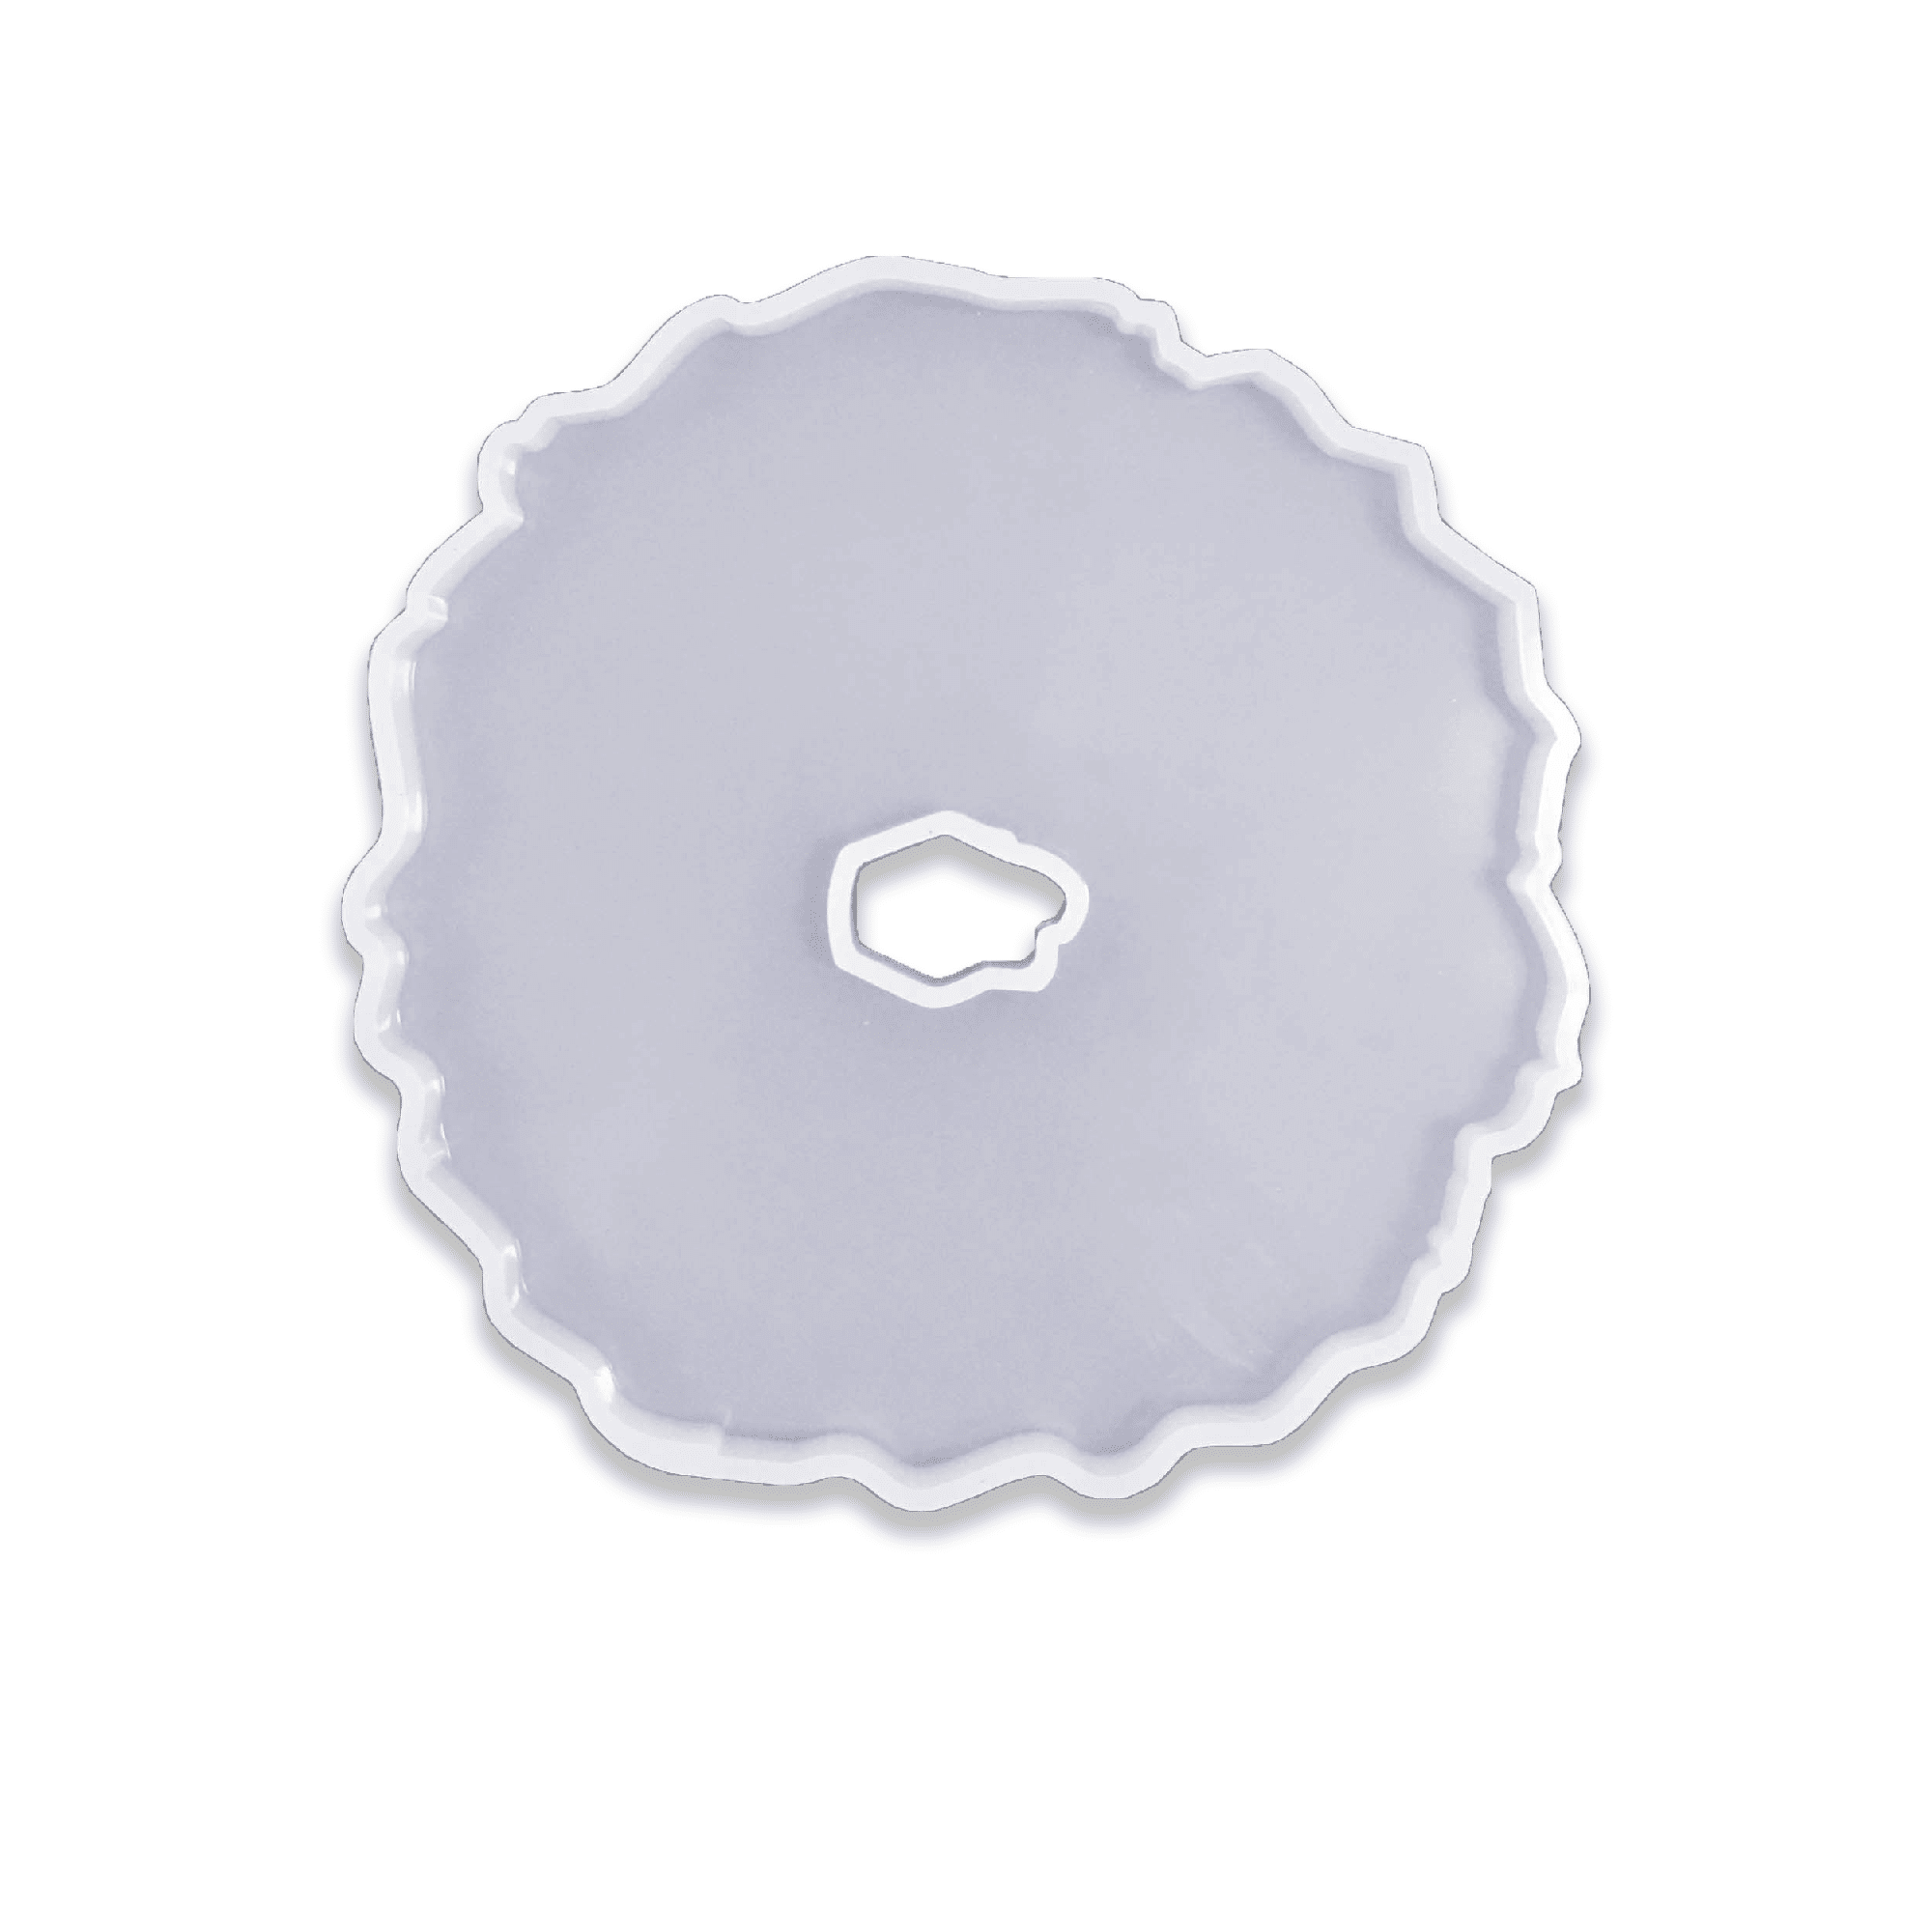 "O" – Geode Coaster Silicone Mould – 13cm£5.00"O" – Geode Coaster Silicone Mould – 13cm is a semi-transparent, reusable silicone mould suitable for crafting coasters with a smooth interior finish.
 Round Tray Silicone Mould ⌀26cm for Coasters and Trays£11.85Round Tray Silicone Mould ⌀26cm designed for coasters and trays with a smooth interior for a professional finish.
Frequently Asked Questions
Can you reuse a resin wheel mould multiple times?
Yes, high-quality silicone moulds can be reused many times if cleaned and handled carefully after each use.
What silicone is best for detailed wheel moulds?
A platinum-based translucent liquid silicone captures fine details and offers flexibility, making it ideal for wheel moulds.
How long should you wait before demoulding a resin wheel?
You should wait until the resin is fully cured—refer to your resin's instructions, but a full cure usually takes 24 to 72 hours.
How can I prevent bubbles in my resin casting?
Pour the resin slowly and consider using a heat gun on the surface to help remove small air bubbles.
Can any resin be used for wheel moulds?
Epoxy and polyurethane resins are suitable for wheel moulds, but always follow the manufacturer's guidance for best compatibility.
Why did my silicone mould not cure properly?
Improper mixing ratios or under-mixing can lead to incomplete curing. Always measure and mix thoroughly according to instructions.