 Free shipping on orders over £29,85

How to harden resin?
Step-by-step guide for reliable, rapid resin curing every time

If you want hardened resin with a flawless, professional finish, this guide is for you. Whether you’re crafting unique jewellery, coating a 3D print, or working on decorative projects, achieving a strong and crystal-clear cure depends on good technique. Below, you’ll find a step-by-step breakdown of how to harden both UV and epoxy resins, avoid common mistakes, and get reliable results on every project.

What You’ll Need
- “UV–Creation” – Fast Acrylic Resin, 3 Minute UV Cure (for UV-cured projects)
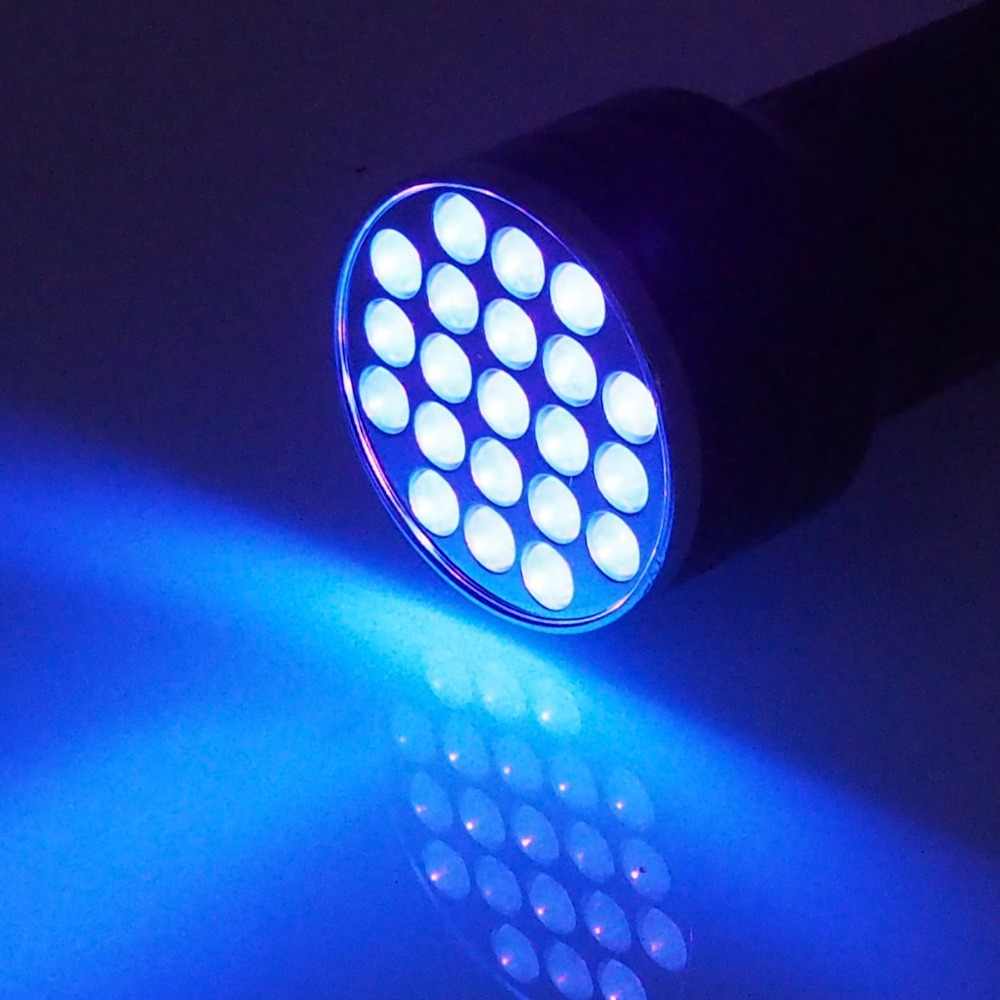
- 21 LED UV Torch for Fast Acrylic Resin Curing (for rapid UV resin hardening)
- “ICreation” – Fast Epoxy Resin, 6h Demoulding, Transparent Gloss Finish (for epoxy resin crafts)
- “3D Finish” – Fast Coating Epoxy Resin for 3D Prints (for finishing 3D prints)
- Mixing sticks, disposable cups, gloves, and protective gear
- Clean moulds or objects for casting or coating

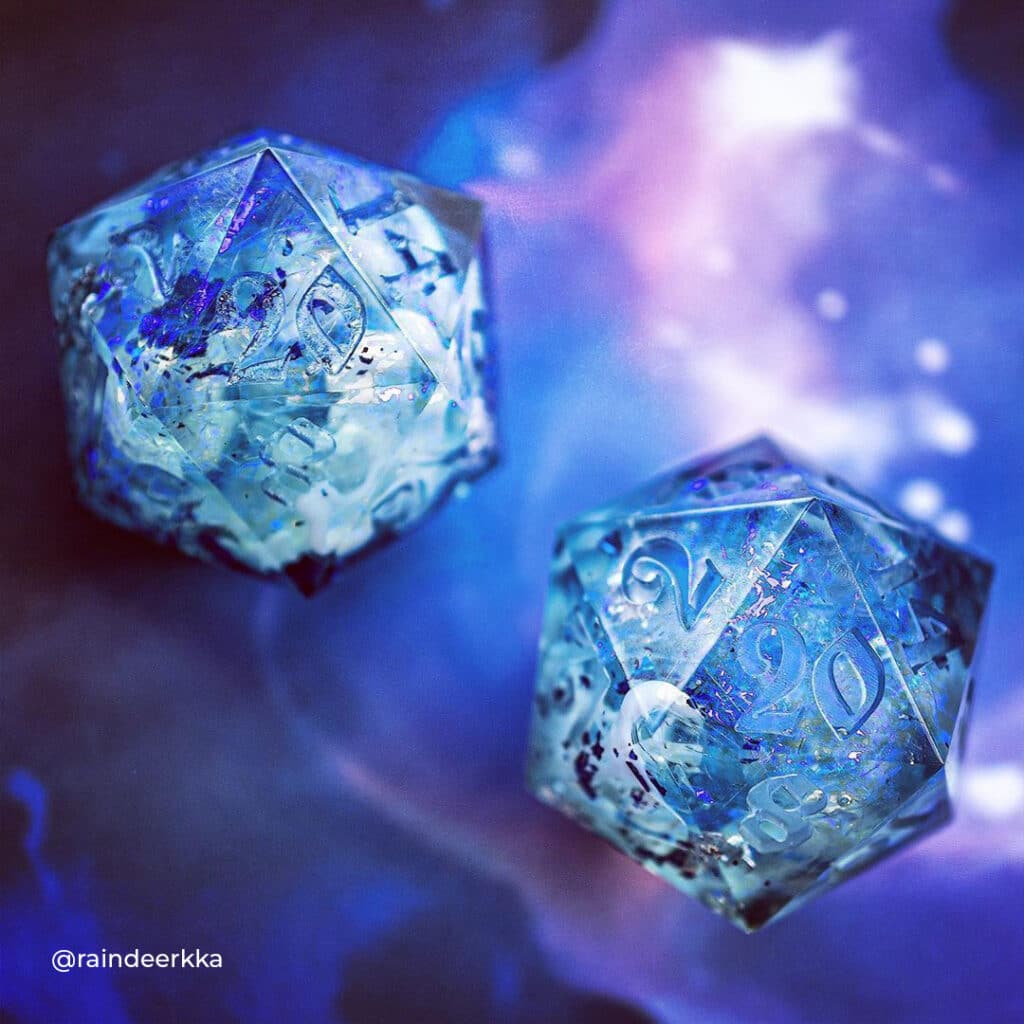
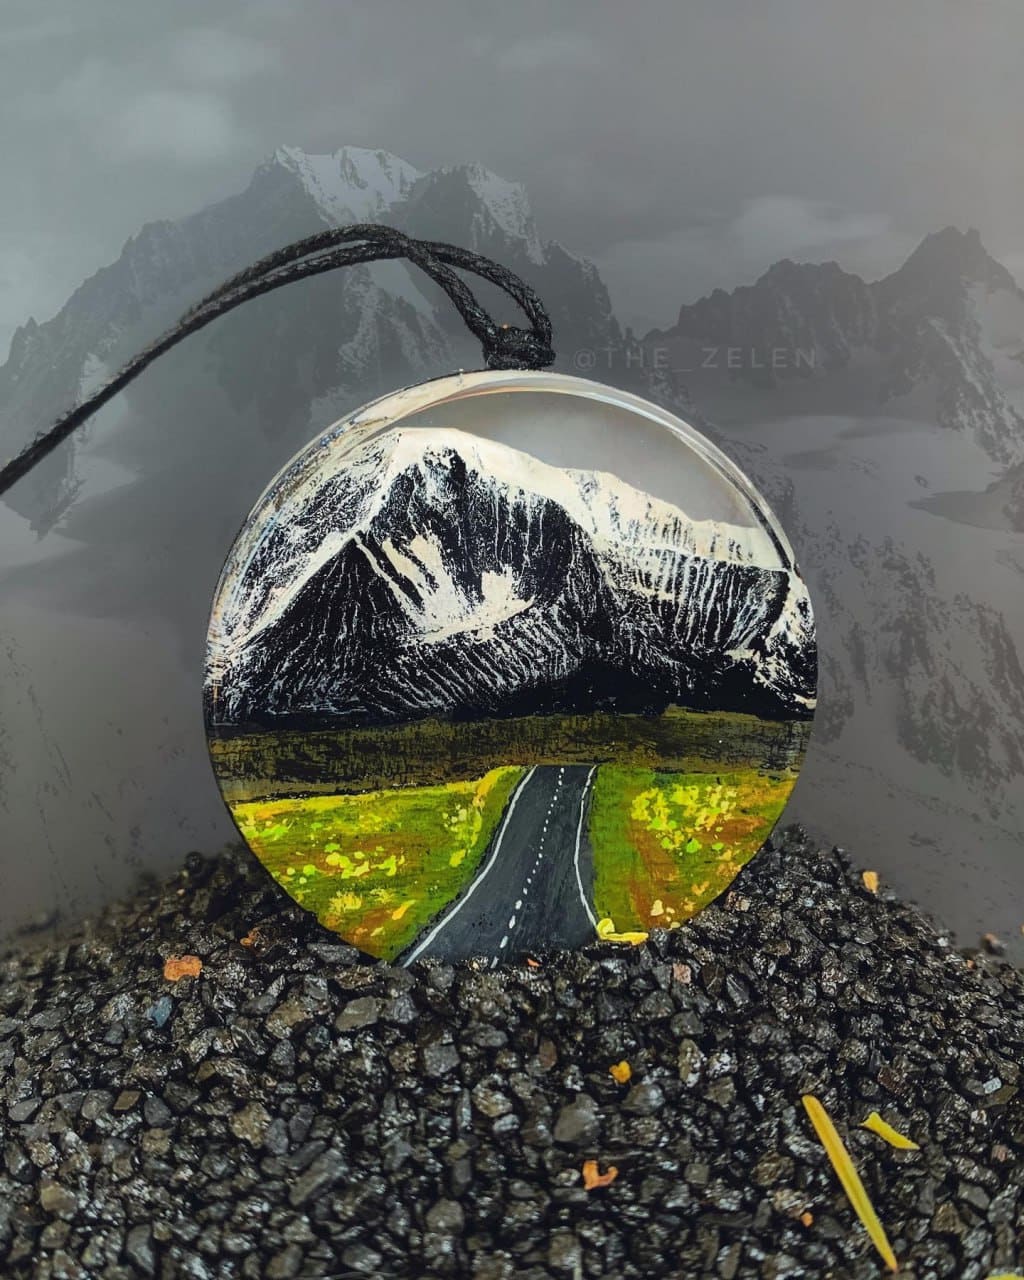
See the Results: Hardening in Action
Fast UV curing and crystal-clear epoxy finishes create flawless jewellery, coatings, and craft objects. Visualise cured resin projects for inspiration and technique guidance.
Step 1: Prepare Your Workspace and Materials
Work in a dust-free, well-ventilated area to prevent contaminants from ruining the clarity or finish of your resin. Gather all supplies before you start, including gloves and any safety equipment. Protect work surfaces with a plastic sheet or disposable covering to catch drips and simplify clean-up.
For best results, ensure your workspace is at the resin manufacturer’s recommended temperature, usually between 18–25°C. This minimises the risk of improper curing or bubbles.


Step 2: Measure and Mix (For Epoxy Resin)
If you’re working with epoxy resin, measure and mix precisely to ensure a thorough cure. Always follow the specified ratio—such as the easy 2:1 resin to hardener mix required by products like “ICreation” – Fast Epoxy Resin. Pour both components into a clean, disposable cup and mix for at least two minutes, scraping the sides and bottom as you go.
Inadequate or rushed mixing is a leading cause of sticky patches or soft spots in cured resin. Take your time to get a uniform, streak-free mixture.
Step 3: Pour or Apply in Thin Layers
Control application thickness by pouring the resin in thin layers, particularly if you use UV-curable products such as “UV–Creation” – Fast Acrylic Resin. UV resins work best at about 3 mm per layer, allowing for rapid and even hardening. Thicker applications may stay soft or only partially cure.
For epoxy resins or coating applications, tools like the “3D Finish” – Fast Coating Epoxy Resin for 3D Prints should be applied smoothly to preserve surface detail and avoid visible lines. Spread gently using a spatula or brush if needed.

Step 4: Cure With UV Light or Allow to Set
For UV-curable resins, use tools like the 21 LED UV Torch for Fast Acrylic Resin Curing. Use a UV torch for instant curing by holding the light a few centimetres above the surface and moving it gently to cover all areas for several minutes. This ensures rapid hardening, vital for jewellery or small crafts.
For epoxy resins, allow the recommended curing time at room temperature. Fast formulas such as “ICreation” – Fast Epoxy Resin may demould in 6 hours and fully cure in about 12 hours—avoid disturbing the object during this period for best clarity and hardness.
Tips, Troubleshooting, and Mistakes to Avoid
Avoid over-thick layers as this can result in incomplete curing or tacky surfaces, especially with UV resin. Always work within the recommended thickness for your product.
Temperature matters: curing too cold slows reactions and may leave the resin soft. Too warm may accelerate curing unevenly. Always follow temperature guidance for each specific resin type.
If bubbles occur, pass a heat gun briefly over the epoxy surface just after pouring. For UV resins, remove bubbles before light curing, as once set, they cannot be fixed.
If hardening seems incomplete, check your mixing ratios (for epoxy), layer thickness, and UV exposure time (for UV resin). Most hardening issues are resolved by adjusting one of these variables.
Common Setbacks and How to Prevent Them
Soft spots, tackiness, or cloudiness in resin can usually be avoided with the correct ratio, layer thickness, and controlled light or heat. Address these factors for perfect results.

- 21 LED UV Torch for Fast Acrylic Resin CuringOriginal price was: £10.45.£7.45Current price is: £7.45.21 LED UV Torch designed for consistent curing of acrylic resin with energy-efficient, portable operation.
- "UV–Creation" – Fast Acrylic Resin, 3 Minute UV CurePrice range: £8.45 through £62.95UV–Creation is a fast-curing acrylic resin suitable for jewellery makers aiming for clear, glossy finishes using UV light.
- "ICreation" – Fast Epoxy Resin, 6h Demoulding, Transparent Gloss FinishPrice range: £15.95 through £55.95"ICreation" fast epoxy resin offers a clear, glossy finish suited for art and jewellery with a 6-hour demoulding time.
 "3D Finish" – Fast Coating Epoxy Resin for 3D PrintsPrice range: £13.95 through £19.95"3D Finish" offers a fast-curing, non-drip coating to enhance strength and appearance of 3D prints in PLA, ABS, and LAYWOOD.
Frequently Asked Questions
Which resin hardens fastest for crafts?
UV-curable resin like "UV–Creation" sets in just a few minutes with UV light, while fast epoxy resins such as "ICreation" can be demoulded after 6 hours.
How can I fix sticky or soft resin?
Sticky resin usually results from uneven mixing or undercuring—reapply a thin fresh layer and ensure proper exposure or curing conditions.
Can I harden resin without a UV light?
Standard epoxy resins harden without UV light and rely on a chemical reaction; UV resins do require a UV light source to cure.
Why is my resin cloudy after curing?
Cloudiness can be caused by trapped moisture, dust, or improper mixing. Work in clean, dry conditions and mix thoroughly for clarity.
How thick can I cast or coat resin?
Limit UV resin applications to about 3 mm per layer for full cure. For epoxy, follow the product-specific guidance on maximum pour depth.
Does temperature affect resin curing speed?
Yes. Cooler temperatures slow the reaction, warmer conditions speed it up, but extremes can impact final strength and finish.