 Free shipping on orders over £29,85


how to make a counter mould in resin?
Step-by-step guide for flawless resin counter moulds
Creating a counter mould in resin is a rewarding project for anyone interested in unique surfaces or decorative pieces. This guide walks you through the essentials of producing a professional-quality counter mould—ideal for resin artists, DIYers, or makers wanting to craft their own custom resin countertops, trays, and cutting boards.
What You’ll Need
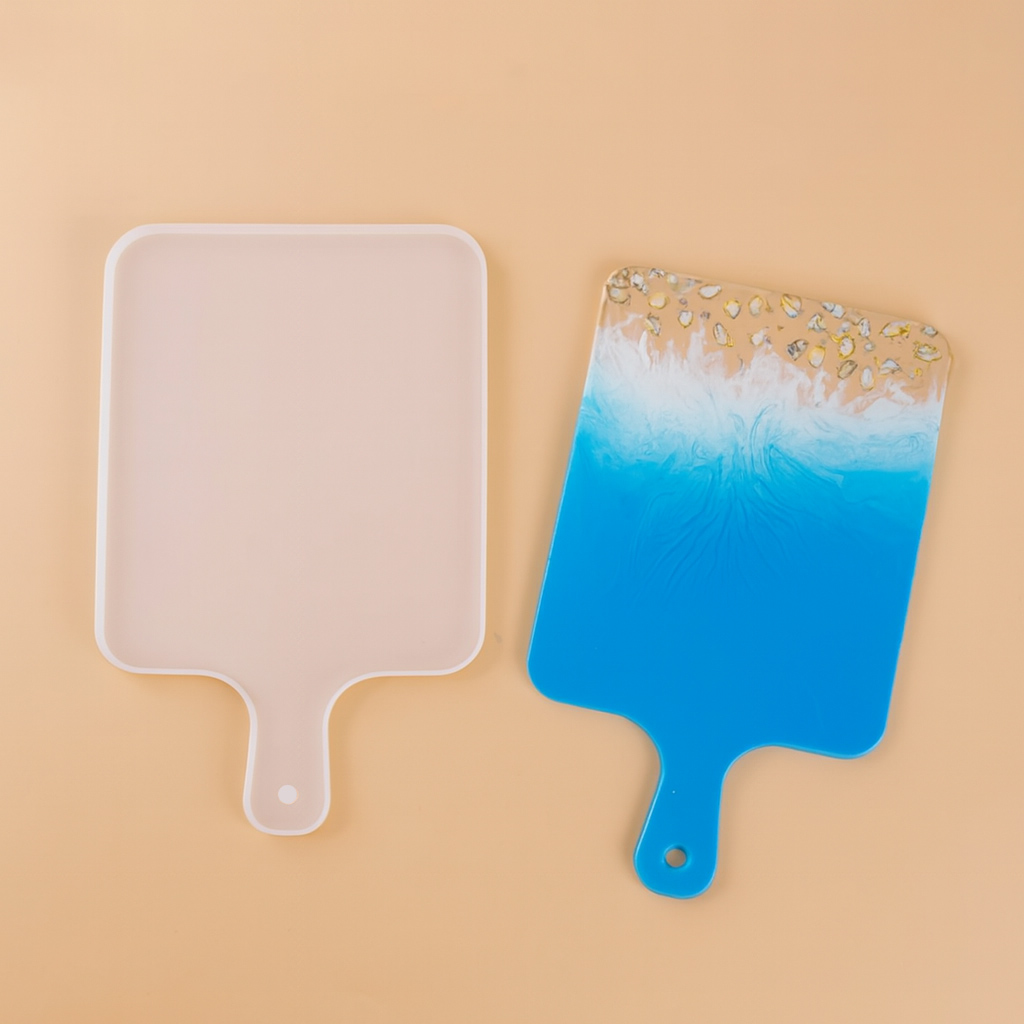
- Rectangular Cutting Board Silicone Mould for Resin Casting – for classic rectangular shapes
- Round Tray Silicone Mould ⌀26cm for Coasters and Trays – suitable for round forms
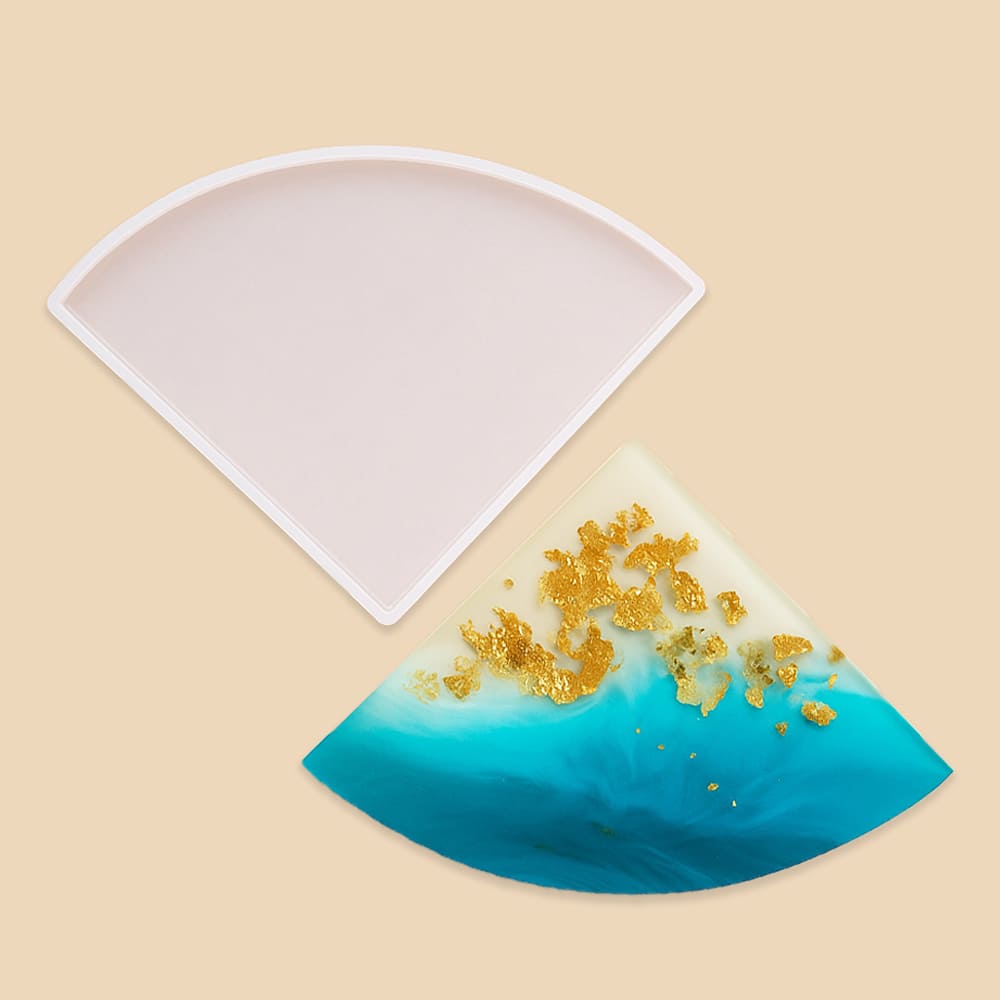
- Triangle Tray Silicone Mould – 32x22x1cm – ideal for geometric designer pieces
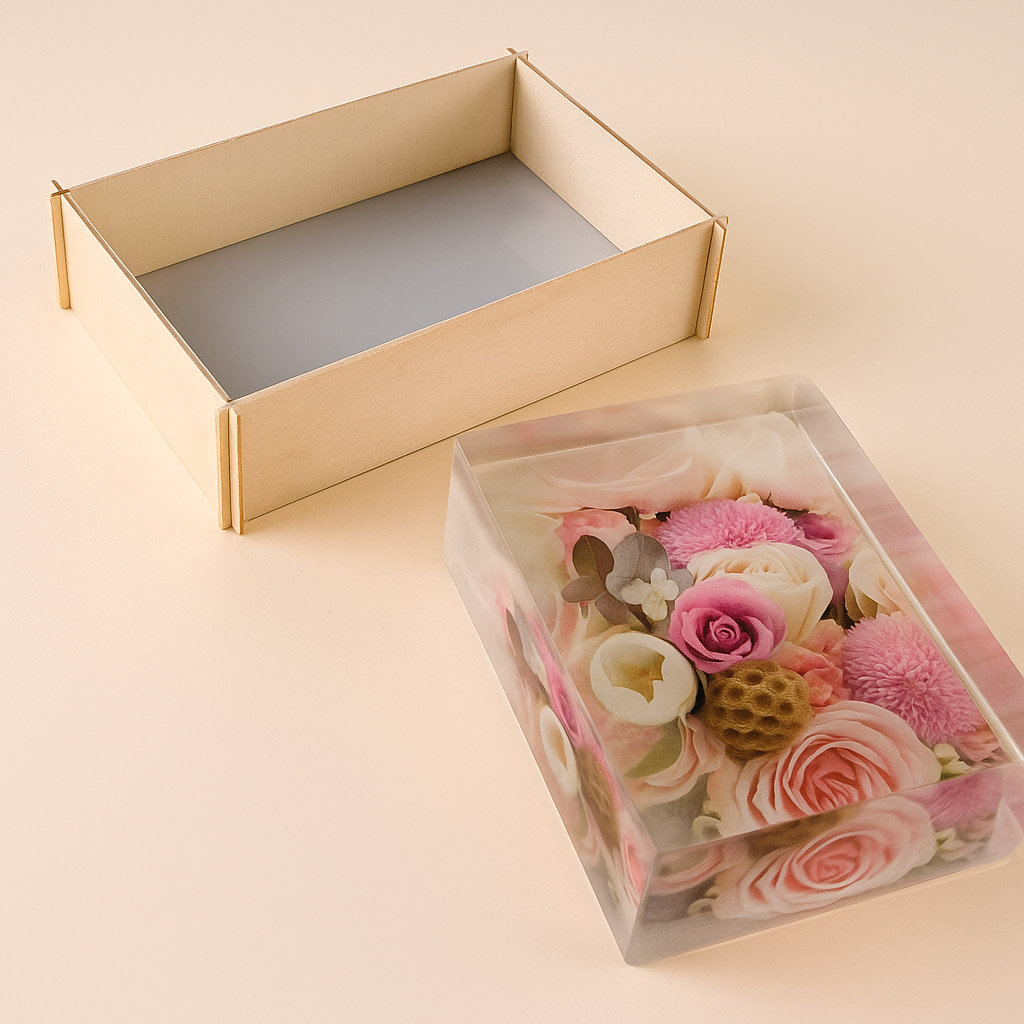
- “Rectangular Mould” – Silicone Formwork 19.5×13.5cm – for robust rectangular creations
- Epoxy or suitable casting resin
- Mixing cups and sticks
- Nitrile gloves and protective wear
- Level workspace
- Release agent (for some projects)

Choosing the Right Silicone Mould Shape for Your Counter Project
Rectangular, round, or geometric silicone moulds let you adapt your creation to your kitchen or workspace style. The right mould is the key to achieving the desired shape, thickness, and finish for your resin counter or tray. Consider both functional and decorative aspects when choosing.

Step 1: Prepare Your Mould and Workspace
Begin by setting up your workspace in a clean, dust-free area. Ensure your surface is level, as any tilt will affect the thickness and finish of your resin mould. Select the appropriate silicone mould depending on your design. The Rectangular Cutting Board Silicone Mould for Resin Casting is especially popular for cutting boards, while the round or triangle moulds are preferred for trays and decorative surfaces. Wipe the mould carefully with a lint-free cloth to remove any debris. If required, apply a light mist of release agent to aid easy demoulding later.
Always use a clean and level work surface for best results and to prevent uneven casting.
Step 2: Mix and Pour Your Resin
Carefully read the resin manufacturer’s instructions regarding mixing ratios and working times. Using appropriate cups and sticks, blend the resin and hardener until you achieve a uniform consistency. Once mixed, pour the resin slowly into your prepared mould, pouring from one side to help reduce air bubbles. For multi-layer projects, consider pouring a thin clear layer first to ensure a flawless top surface before adding coloured or decorative elements. The Round Tray Silicone Mould ⌀26cm for Coasters and Trays is ideal for achieving smooth surfaces in functional pieces.
Measure and mix your resin accurately to prevent curing issues or sticky spots.
Step 3: Curing and Demoulding Your Counter Mould
After pouring, cover your mould to keep out dust and allow the resin to cure for the full recommended time. Most silicone moulds, including options like the Triangle Tray Silicone Mould – 32x22x1cm, are non-stick and make demoulding straightforward. However, be sure to demould within the suggested time frame—usually within 12 hours—to prevent the resin from adhering too strongly. Gently flex the mould to release the piece, taking care not to damage intricate edges. If the item resists removal, leave it a little longer or try gentle manipulation rather than force.
Allow sufficient curing time to ensure strength and clarity—but remove items from the mould within recommended time to prevent sticking.
Step 4: Finish and Use Your Resin Counter Mould
Once demoulded, inspect the counter mould for any sharp edges or minor imperfections. Sand lightly if required, always working in a well-ventilated space. Some projects benefit from an additional clear resin coat for protection and gloss. Wash your finished piece with mild soap and water, avoiding strong solvents that can damage silicone. Moulds such as the “Rectangular Mould” – Silicone Formwork 19.5×13.5cm are reusable and should be cleaned and dried thoroughly after use for long-lasting performance.

Tips, Common Mistakes, and Troubleshooting
Work at the recommended ambient temperature for your resin type to prevent issues like cloudiness or incomplete cures. Avoid aggressive solvents or leaving resin too long in the mould as this can cause sticking or degrade the silicone. Watch for air bubbles, which can be reduced by slow pouring and (where safe) using a gentle heat source. If you encounter blemishes or surface imperfections, sanding and a re-coat may correct the issue. Accurate measurement and patience during curing are key to a successful resin counter mould project.
Care and Longevity of Silicone Moulds
Clean, dry, and store your silicone moulds away from direct sunlight and high heat. Proper care ensures multiple uses without warping or loss of detail, making each resin project as flawless as the first.

- Rectangular Cutting Board Silicone Mould for Resin CastingPrice range: £6.85 through £9.85Silicone mould designed for creating personalised rectangular cutting boards in resin. Suitable for decorative home projects.
- Round Tray Silicone Mould ⌀26cm for Coasters and Trays£11.85This mould produces smooth, professional coasters and trays. It is suitable for DIY resin crafts using heat-resistant resins.
- Triangle Tray Silicone Mould – 32x22x1cmOriginal price was: £12.00.£10.85Current price is: £10.85.This silicone mould is designed for handcrafts like coasters, providing a smooth interior and a professional finish.
- "Rectangular Mould" – Silicone Formwork 19.5×13.5cm£10.85Formwork for resins designed to create square-shaped items using professional silicone and chipboard dowels.
Frequently Asked Questions
Can I use any silicone mould for a resin counter?
You should use heat-resistant, professional-quality silicone moulds designed for resin work.
How do I prevent resin sticking to the mould?
Demould within 12 hours and avoid harsh solvents to protect both resin and mould integrity.
How long should resin cure before removing from mould?
Most resin projects should cure for several hours but be demoulded within 12 hours for best results.
Can I reuse silicone moulds for resin projects?
Yes, all high-quality silicone moulds listed are reusable when properly cleaned and cared for.
Do I need a release agent for silicone resin moulds?
Usually not, but a light release agent can help with intricate designs or extended curing times.
Can I make heat-resistant surfaces with these moulds?
Yes, using a heat-resistant resin and following the curing guidance will give functional, durable results.