 Free shipping on orders over £29,85


how to make fishing sinker moulds with resin
Step-by-step guide for reliable custom moulds at home

Creating your own fishing sinker moulds using resin offers a cost-effective way to customise weights for your angling needs. Whether you’re a hobbyist or an experienced angler wanting durable and reusable moulds, this guide will walk you through each stage of the process to ensure you achieve strong, detailed results every time.
What You’ll Need
- “Pure Mould” – Translucent Liquid Silicone Rubber for Mould Making: A versatile silicone rubber well-suited for creating detailed fishing moulds.
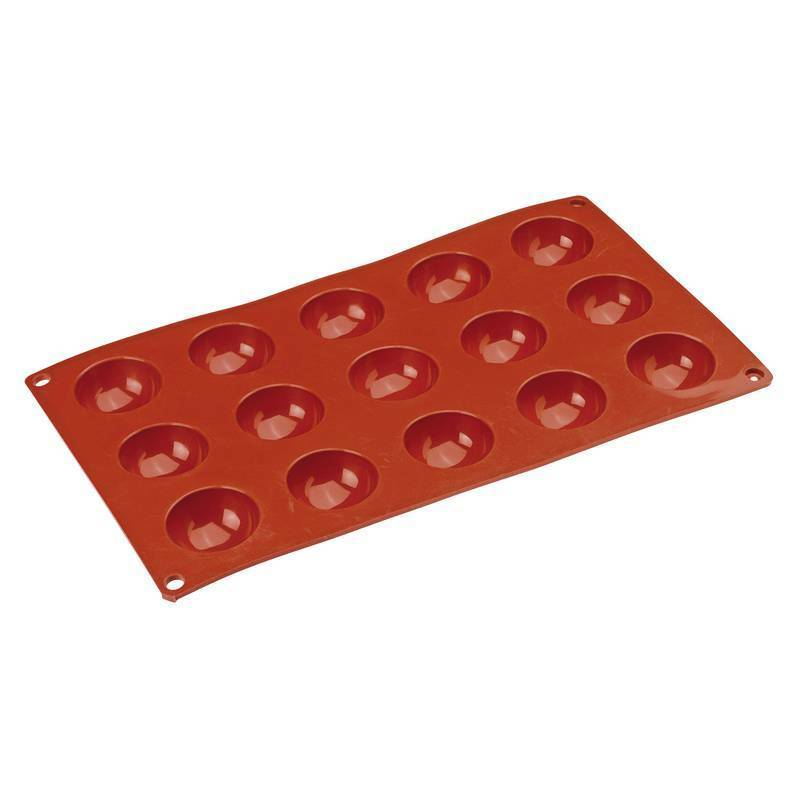
- “Cabochon-15” – Silicone Mould for Resin, Chocolate, Soap, Plaster – Ø40mm: Ideal for small weights or testing your resin casting technique.
- “3 Sphere” – Silicone Mould for Jewellery and Crafts, 1cm-2.5cm Spheres: Useful for spherical sinkers or experimenting with sizes.
- “Large Crystal” – Silicone Mould, 5.0×3.5cm, Semi-Transparent, Reusable: Suitable for larger, uniquely shaped sinkers.
- Modelling clay (to create the initial sinker prototype)
- Mixing sticks, disposable cups, and a flat workspace
- Release agent (optional, for easier demoulding)
- Protective gloves and eye protection

Resin Mould Making Essentials
Selecting the right silicone rubber and following proper mixing techniques will help you achieve a detailed and durable mould for fishing sinkers. Take care to prepare your prototype and workspace thoroughly before working with liquids.

Step 1: Prepare Your Sinker Prototype
Begin by shaping the fishing sinker prototype using modelling clay. This prototype determines the final shape and details of your fishing weight, so take time to ensure it’s free from cracks and has a smooth surface. You may use a pre-existing sinker if you’re replicating a specific design, pressing it lightly into the clay or embedding a wire for the line attachment if desired. Place the finished prototype on a flat, level surface ready for moulding.
Step 2: Mix and Pour the Silicone for the Mould
Work in a well-ventilated area and wear protective gloves to ensure safety when handling silicone materials. Select a suitable container that fits your prototype, leaving some space around the edges for adequate mould thickness. “Pure Mould” – Translucent Liquid Silicone Rubber for Mould Making is especially effective for this step due to its clear finish and easy 1:1 mixing ratio.
Carefully mix your silicone rubber according to the recommended 1:1 ratio by volume, stirring gently to avoid introducing air bubbles. Pour the silicone slowly over the prototype until it is fully covered, making sure it fills every detail. Gently tap the container to release trapped air. Allow the silicone to cure undisturbed for 3-8 hours, as per instructions on the packaging.
Step 3: Remove the Mould and Inspect
Be patient and allow the silicone to fully cure before attempting to demould. Once cured, carefully separate the silicone from the prototype, flexing the mould gently to avoid tearing. Examine the interior for crispness and any imperfections — a high-quality silicone like “Pure Mould” helps achieve excellent detail retention.
If desired, wash the silicone mould with warm soapy water and dry it thoroughly before use. This step ensures your resin casting will release easily and maintain a good surface finish.

Step 4: Cast Your Fishing Sinkers in Resin
Prepare your chosen resin in accordance with manufacturer instructions, ensuring all measures and mixes are accurate. Pour resin slowly and avoid trapping air bubbles to get the best structural results and surface clarity. For standard shapes, you might use the “Cabochon-15” – Silicone Mould or “3 Sphere” – Silicone Mould for easier demoulding and uniform sizes.
Allow the resin to cure in the mould, following recommended times. Remove the sinker gently from the mould within 12 hours to avoid adhesion, especially with silicone moulds designed for multiple uses.

Step 5: Clean, Demould and Finish Your Sinker
Once the resin has cured, remove your sinker from the mould and inspect for defects or sharp edges. Any flash or seams can be gently sanded away. Wash the finished sinker in mild soap and water to ensure it is ready for use. Store your silicone moulds in a cool, dry place for future projects.
Tips and Troubleshooting
Check the mould for imperfections before each use to catch issues early. Ensure all mixing is done thoroughly but gently to prevent air bubbles. If sinkers stick to the mould, consider using a mould release or removing them promptly after curing. Remember, temperature and humidity can affect curing times and results, so work in a controlled environment where possible for consistency.
Expert Tips for Reliable Casting
Maintain cleanliness and avoid using aggressive solvents to prolong the lifespan of your silicone moulds. Storing both the mould and finished weights properly ensures continued success in your future fishing tackle projects.

- "Pure Mould" – Translucent Liquid Silicone Rubber for Mould MakingPrice range: £22.85 through £158.85"Pure Mould" is a translucent, fast liquid silicone rubber designed for making detailed moulds compatible with resins and other materials.
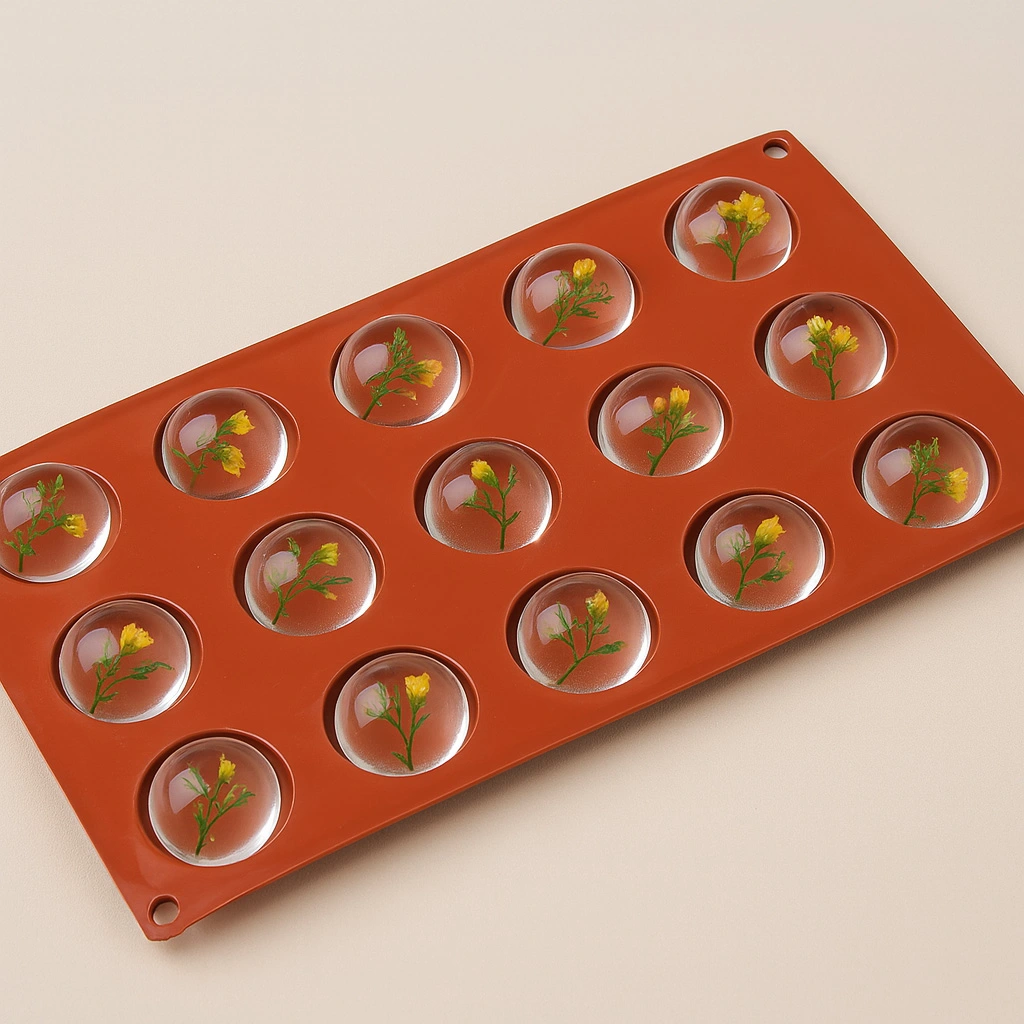 "Cabochon-15" – Silicone Mould for Resin, Chocolate, Soap, Plaster – ø40mm£13.85This silicone mould is designed for resin and other crafts, suited to making shiny decorative objects in shapes like cabochons.
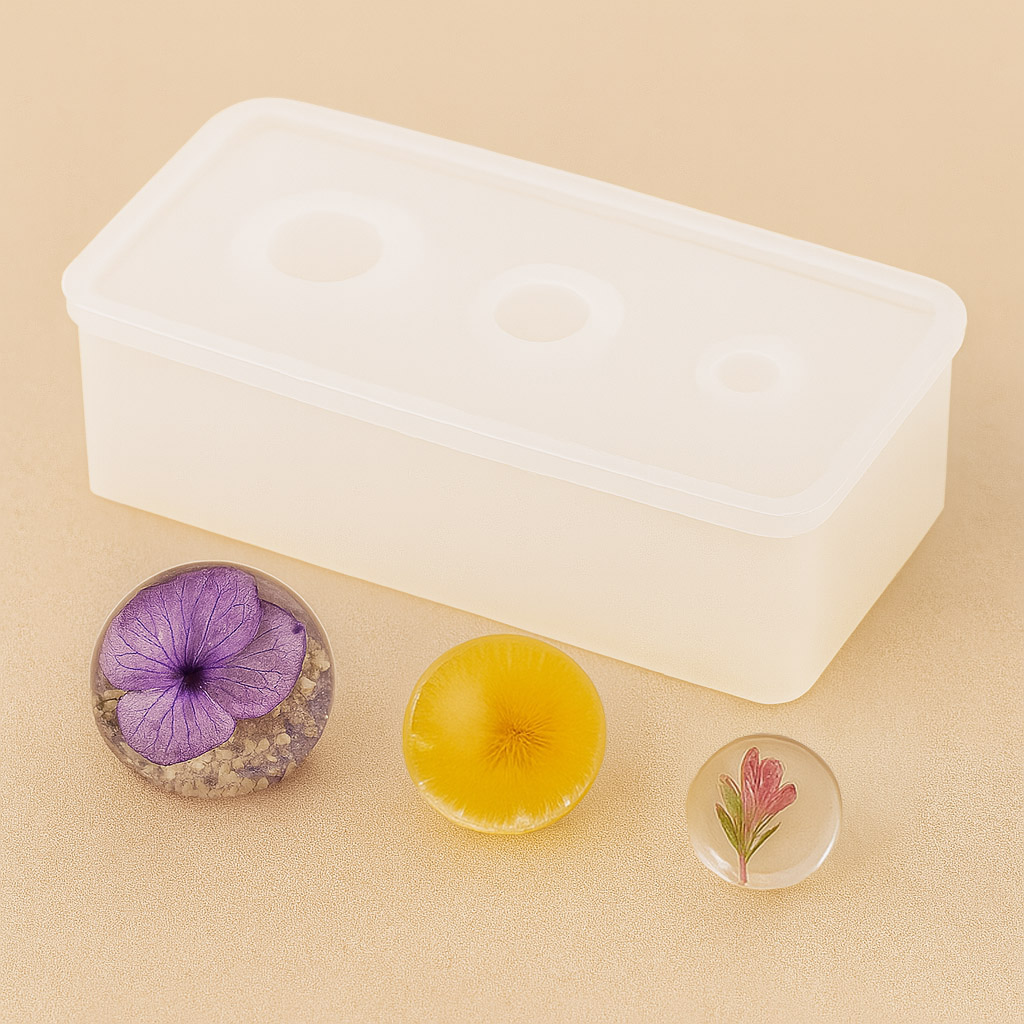 "3 Sphere" – Silicone Mould for Jewellery and Crafts, 1cm-2.5cm Spheres£6.85Silicone mould designed for crafting spheres from 1cm to 2.5cm, suitable for resin and other DIY materials.
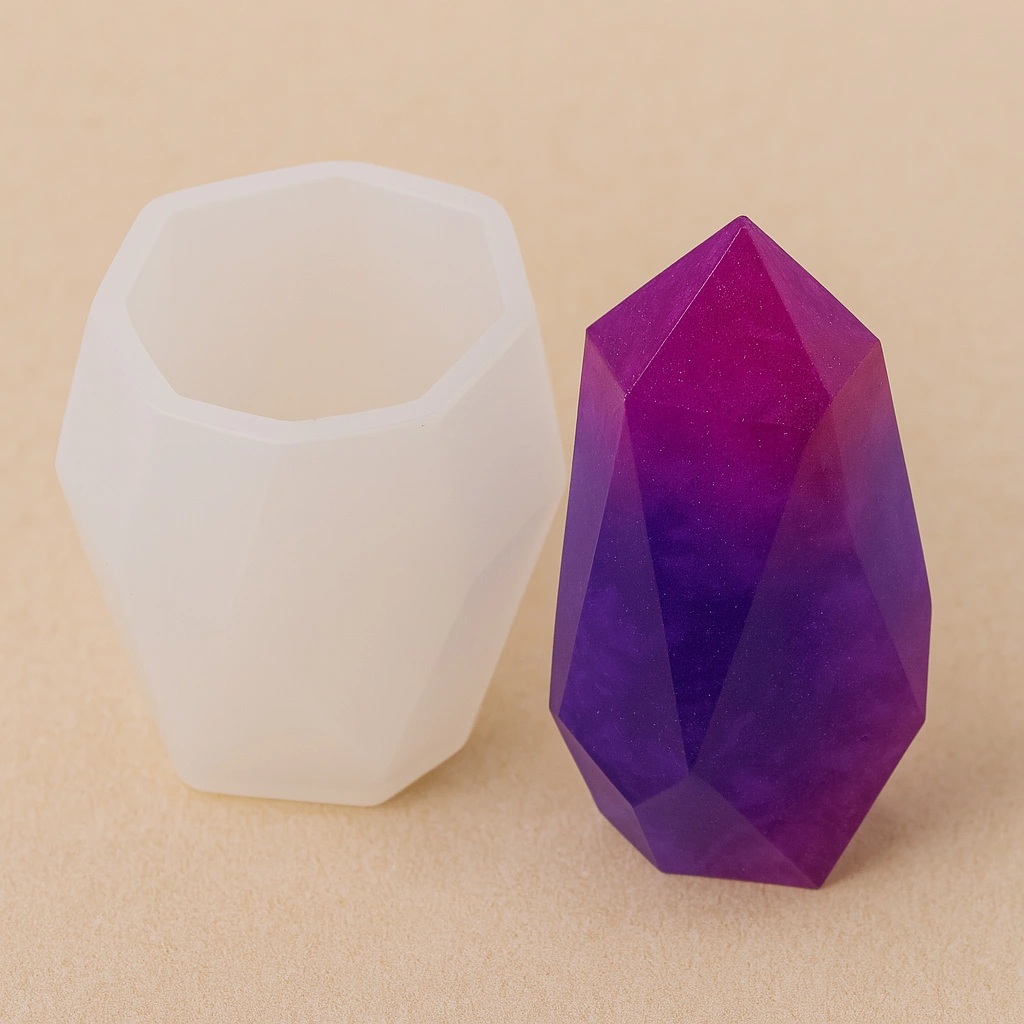 "Large Crystal" – Silicone Mould, 5.0×3.5cm, Semi-Transparent, Reusable£6.00"Large Crystal" silicone mould is semi-transparent and reusable, suitable for creative resin projects within the theme of fishing sinker mould making.
Frequently Asked Questions
Can I use any resin to cast fishing sinkers?
Most casting resins work, but check compatibility with your mould and ensure the cured resin is strong and waterproof.
How long does the silicone mould take to cure before casting resin?
Silicone rubber moulds like "Pure Mould" typically cure in 3–8 hours depending on conditions and thickness.
How do I prevent resin from sticking to the silicone mould?
Remove your cast sinker within 12 hours, or use a mould release agent if persistent sticking occurs.
Can I reuse my silicone moulds to make more fishing sinkers?
Yes, high-quality silicone moulds are designed for repeated use when cleaned and stored properly.
What safety precautions should I follow when making resin fishing sinker moulds?
Always work in a ventilated area and wear gloves and eye protection when mixing or pouring resin and silicone.
What should I do if my resin sinker has bubbles?
Pour resin slowly and gently tap the mould to release air bubbles before curing.