 Free shipping on orders over £29,85

How to make moulds for resin?
Step-by-step guide to casting your own silicone resin moulds

Creating your own moulds for resin opens up endless creative opportunities, letting you form custom shapes, memories, and designs for artistic and practical projects. This guide will show you the essential techniques to make reliable, reusable moulds that deliver crisp detail and easy demoulding every time.
What You’ll Need
- “Pure Mould” – Translucent Liquid Silicone Rubber for Mould Making – for casting flexible, detail-rich moulds
- “Rectangular Mould” – Silicone Formwork 19.5×13.5cm – to act as a master or to create geometric base moulds
- “Silicone Circle Mould” – For Creating with Epoxy Resin, Ø 20cm – for round, decorative pieces or as a sturdy prototype
- Original object or model to copy (non-porous, clean, and dry)
- Suitable containers or boxes to serve as mould frames
- Mixing tools (cups, spatula, spoon)
- Protective gloves, apron, and a clean workspace

See Tools and Mould Examples in Use
The right silicone and prep materials help produce bubble-free, reusable resin moulds. Below, browse real customer photos and inspiration projects to visualise tools and finished silicone forms in action. View details for “Pure Mould” – Translucent Liquid Silicone Rubber for Mould Making or explore the full range of silicone rubbers here.

Step 1: Set Up Your Model and Work Area
Careful preparation lays the foundation for a successful mould. Start by selecting a master item to replicate. Choose a model that is non-porous, free of dust, and entirely dry. Place the item inside a container that fully surrounds the model with at least 1–2 cm of space on all sides.
Secure the model with a small dab of temporary adhesive or tape if needed to prevent shifting. Level your work surface to ensure the finished mould will cure evenly. Cover the area with disposable sheeting and wear protective gloves.
Always measure accurately when mixing silicone compounds, as even small imbalances can affect curing and mould quality.
Step 2: Mix and Pour the Silicone Rubber
Prepare your silicone casting compound according to the manufacturer’s 1:1 mixing ratio. Using a product like “Pure Mould” – Translucent Liquid Silicone Rubber for Mould Making ensures high flexibility and minimal shrinkage for resin projects. Combine equal parts base and catalyst in a clean mixing cup, stirring gently but thoroughly until fully homogeneous.
Work in a well-ventilated area and wear gloves to avoid skin contact. Pour the mixed silicone slowly from a low height and in a thin stream, starting from one corner of the container. This helps distribute the material and reduces trapped air. Let the silicone flood over and around the model until it is submerged by the required thickness.
Prevent bubbles by pouring silicone slowly from one corner and tapping the container gently to encourage bubbles to rise and pop.
Step 3: Let the Silicone Cure Fully
Allow the mould to cure undisturbed for the time specified – for example, with the “Pure Mould” silicone, curing typically takes between 3–8 hours at room temperature. Avoid moving or disturbing the setup during this period, as vibrations can cause surface imperfections or misaligned detail.
Check the manufacturer’s instructions for temperature and curing recommendations. Cooler temperatures can extend curing times.
Allow the silicone to cure fully before attempting to demould; premature removal can deform the mould or affect surface quality.

Step 4: Demould and Inspect
Once curing is complete and the silicone feels firm yet flexible, gently peel the mould away from the master model and the container walls. If the mould resists, loosen the edges carefully without tearing. Avoid using sharp tools near the mould surface to prevent accidental nicks or stretching.
Wash the finished silicone mould with mild soap and water, then let it dry fully before use with resin.
Thoroughly inspect your mould for flaws or undercuts before casting resin – clean, uninterrupted silicone yields the best results.

Tips, Common Mistakes, and Troubleshooting
Even experienced crafters face occasional challenges, but a few key practices make all the difference. Do not rush the mixing and pouring stages; take time to stir thoroughly and eliminate air pockets. Always use proportionate quantities to avoid sticky or brittle moulds. If your model has intricate details, consider brushing a thin initial layer of silicone onto the surface before pouring the rest to capture all features.
If you notice surface bubbles or imperfect details, patch them with a small amount of mixed silicone before casting resin pieces. Store finished moulds flat and out of direct sunlight to prolong their working life. Avoid exposing silicone moulds to solvents or harsh chemicals, which can degrade flexibility and performance over time.
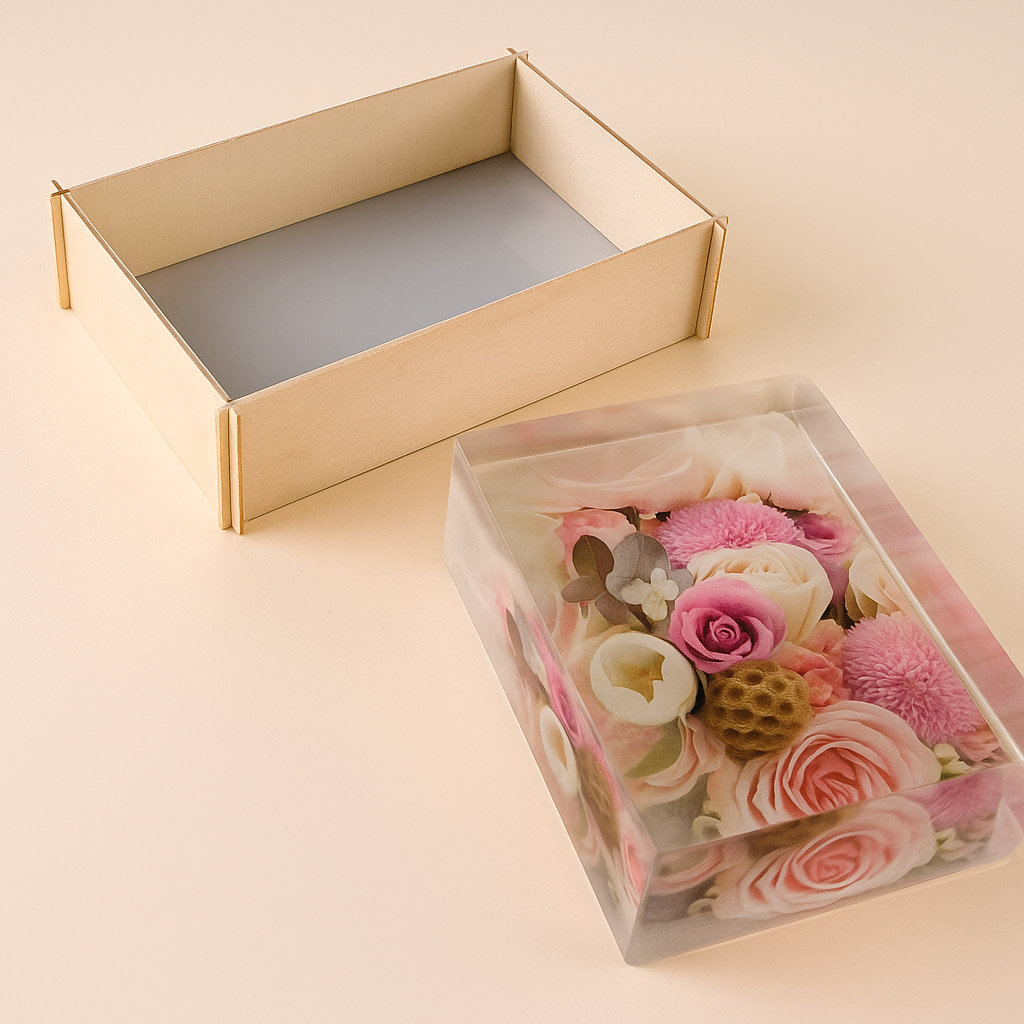
Creative Results from Custom Resin Moulds
Well-made silicone moulds are essential for achieving flawless resin shapes, whether you’re preserving wedding florals, crafting coasters, or producing bespoke art. Explore more examples and techniques by checking out the latest silicone moulds for resin projects in our shop.

- "Pure Mould" – Translucent Liquid Silicone Rubber for Mould MakingPrice range: £22.85 through £158.85"Pure Mould" silicone rubber is translucent and suitable for making moulds compatible with various materials including resins, plaster, and cement.
- "Rectangular Mould" – Silicone Formwork 19.5×13.5cm£10.85A silicone and chipboard formwork designed for making square-shaped resin creations.
 "Silicone Circle Mould" – For Creating with Epoxy Resin, Ø 20cm£12.85Flexible silicone mould designed for creating decorative resin objects.
Frequently Asked Questions
How long does silicone for resin moulds take to cure?
Most two-part silicone rubbers used for resin moulds cure in 3–8 hours at room temperature, depending on brand and thickness.
How can I prevent bubbles in silicone moulds?
Pour silicone slowly from one corner and gently tap the container to help bubbles escape before curing.
Can I use any object as a master for mould making?
Choose smooth, non-porous items as masters. Porous objects may trap air or bond to the silicone, complicating removal.
What helps a silicone resin mould last longer?
Clean your moulds gently after each use and store them flat, away from heat and sunlight to prevent warping or degradation.
Do I need a release agent with silicone moulds?
Most silicone moulds for resin do not require a release agent, but complex shapes may benefit from it for easier demoulding.
How can I repair small silicone mould defects?
Mix a small amount of fresh silicone and patch minor bubbles or tears before casting resin. Allow the repair to cure fully.