 Free shipping on orders over £29,85


How to make resin cabochons?
Step-by-step guide for beginners and jewellery crafters

Resin cabochons are a beautiful choice for handmade jewellery, art, and decorative crafts. This guide will walk you through creating your own resin cabochons from start to finish—covering technique, safety, and key tips for professional, glossy results everyone will notice. Perfect for beginners or experienced makers seeking smooth, bubble-free pieces every time.
What You’ll Need
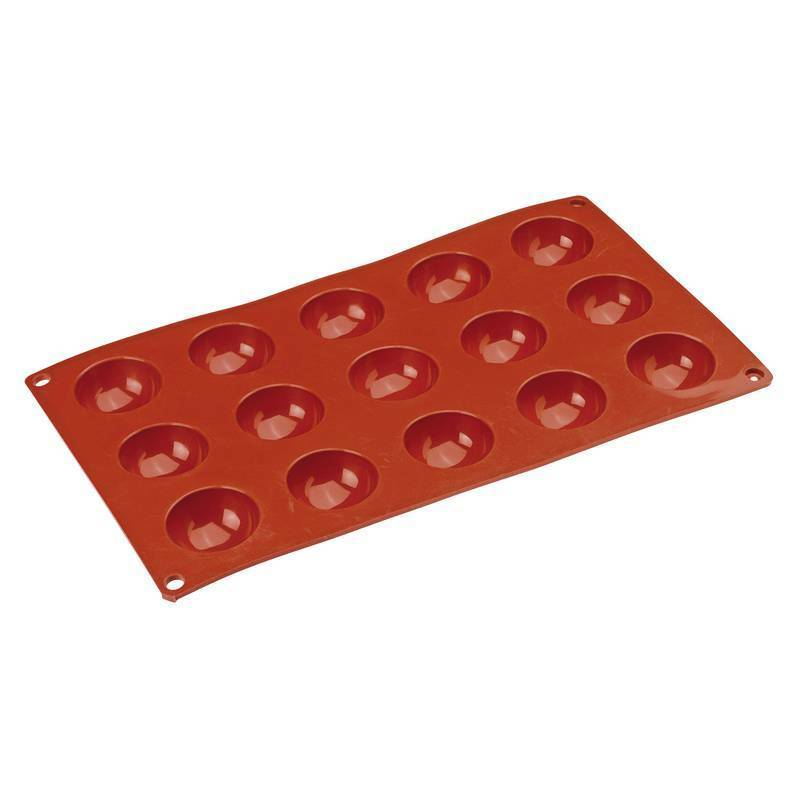
- “Cabochon-15” – Silicone Mould for Resin, Chocolate, Soap, Plaster – Ø40mm: For casting perfect cabochons with an easy release surface.
- “One-2-One” – Epoxy Resin for Handcraft, 1:1 Mixing Ratio or “UV–Creation” – Fast Acrylic Resin, 3 Minute UV Cure: Choose based on whether you prefer standard epoxy or fast-curing UV resin.
- Protective gloves and apron
- Mixing cups and stirrers
- Dust-free workspace
- UV lamp (if using UV resin)
- Optional: Toothpick for bubble removal, pigments for colouring, decorative inclusions
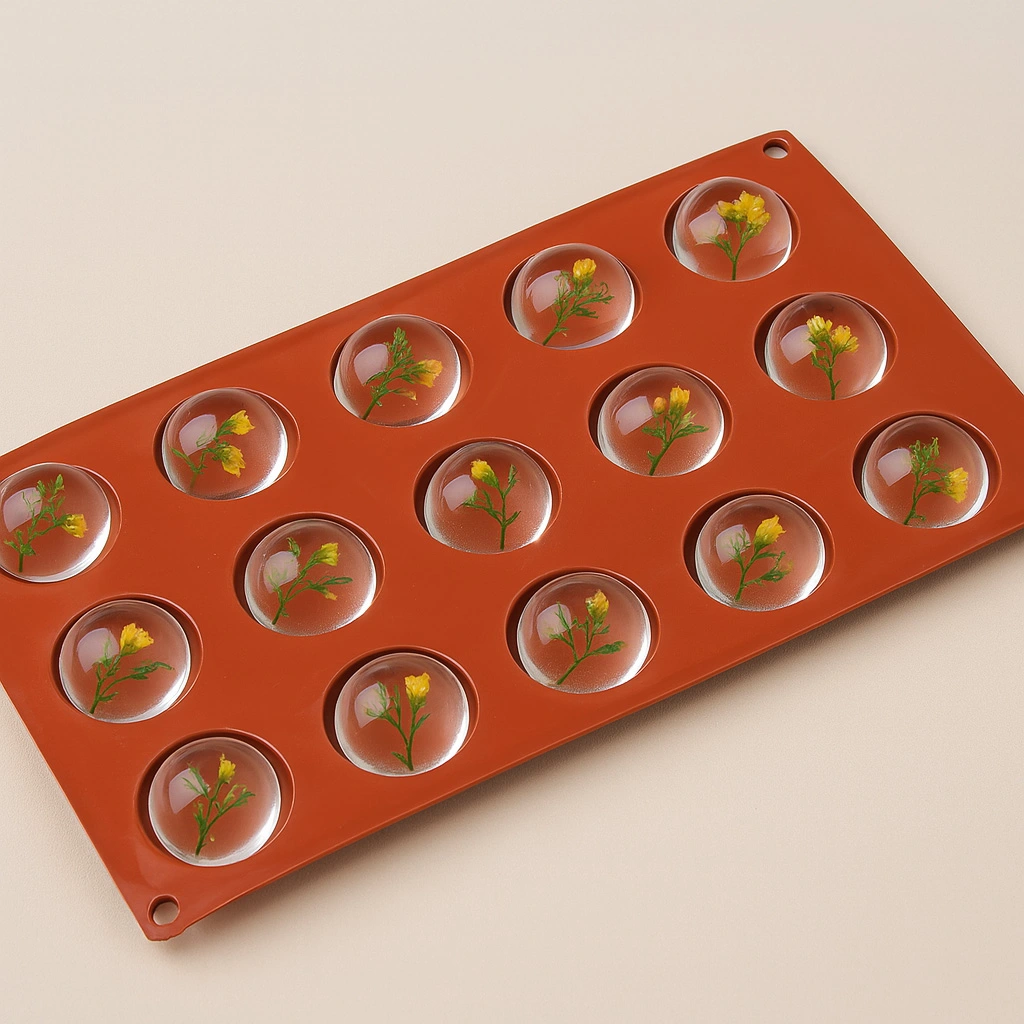
See Real Resin Cabochon Moulds and Resin Types
Get a closer look at the Cabochon-15 silicone mould and different resins for crafting cabochons—including One-2-One epoxy and UV–Creation fast acrylic resin. These tools are engineered to simplify your cabochon journey and provide a glossy, professional finish.
Step 1: Prepare the Workspace and Mould
Choose a clean, well-ventilated, dust-free area to work. Lay down protective coverings to catch spills. Ensure your silicone cabochon mould is free from dust and residue, as even small particles can lead to surface imperfections on your finished cabochons. If desired, lightly apply a mould release agent suitable for silicone to help with demoulding later, but with high-quality silicone most users find it unnecessary.
Step 2: Mix and Colour the Resin
Carefully read your chosen resin’s instructions. For a classic epoxy cabochon, use an easy-mix formula such as One-2-One Epoxy Resin. Measure equal parts resin and hardener by volume and mix slowly in a clean cup to avoid introducing bubbles. Scrape the sides and bottom periodically to ensure a thorough blend.
If using UV resin like UV–Creation Fast Acrylic Resin, the product is ready to use straight from the bottle without mixing. Both types can be tinted with compatible pigments or have inclusions like dried flowers or glitter mixed in at this stage—just avoid adding too much, which could affect curing or clarity.
Step 3: Fill the Mould and Remove Bubbles
Carefully pour or dispense the mixed resin into each cabochon cavity in your mould. Fill just to the top edge; slightly overfilling can lead to a dome effect, while underfilling may give uneven surfaces. Use a clean toothpick to gently spread resin into corners or pop any visible bubbles. For deeper cabochons or very detailed shapes, pour slowly to avoid trapping air.
Always check for bubbles before curing—using a heat gun or gently blowing through a straw over the mould can help surface bubbles to escape. UV resin should be checked and adjusted for bubbles prior to placing under the lamp.

Step 4: Cure and Demould the Cabochons
Epoxy resin cabochons require time to cure. Leave the filled mould undisturbed and covered (to prevent dust settling) for the full cure recommended by the manufacturer. With One-2-One epoxy, initial demoulding is possible after about 12 hours, but best clarity and hardness are achieved after 24 hours. For UV resins, curing under a UV lamp (between 3W and 36W) typically takes just two to three minutes per batch.
Timing matters when demoulding resin cabochons: Demould too early and you risk deformation; too late, especially with epoxy, may make removal more difficult or even damage the mould. Peel away the silicone mould gently to avoid fingerprints or edge marks.

Step 5: Finish, Polish, and Set
Once released from the mould, inspect your cabochons. Minor imperfections like raised edges can be trimmed with a craft blade or sanded with very fine abrasive paper. To increase shine, buff gently with a soft cloth or use a suitable polishing agent.
Cabochons are now ready to be set into jewellery hardware—use glue or findings kits as appropriate. For advanced finishes, you may try doming a second layer of resin or adding metallic highlights.
Tips and Troubleshooting for Resin Cabochon Success
- Careful surface preparation prevents imperfections: Even tiny bits of dust in the mould can show on finished pieces.
- If bubbles persist, warm your resin slightly in a hot water bath before mixing, but never let water get into the mix.
- Always wear protective gloves, especially when handling uncured resin, to avoid skin irritation.
- Allow epoxy pieces to cure fully before handling or setting in jewellery.
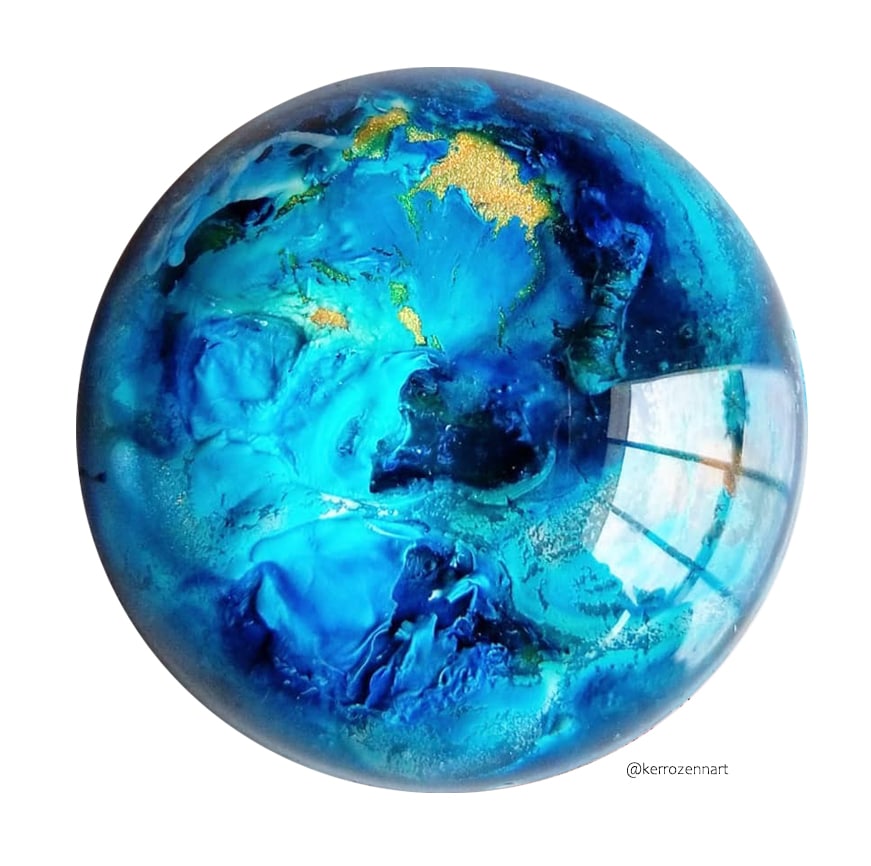
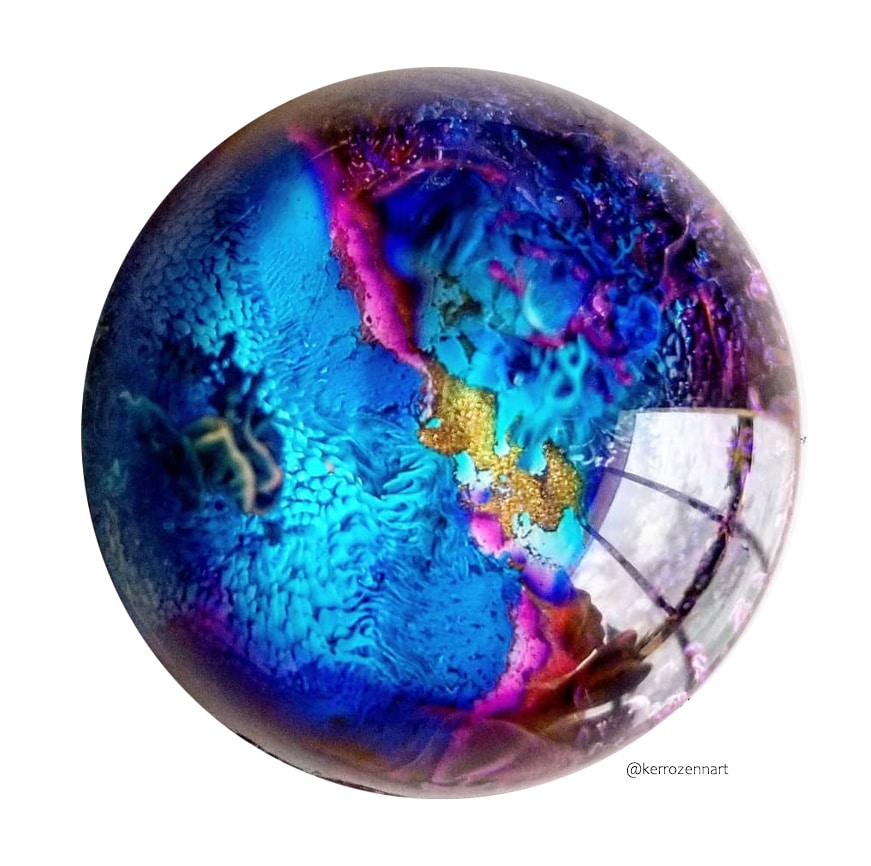
Gallery: Flawless Resin Cabochons in Detail
View examples of finished resin cabochons—showcasing the clarity, shine, and unique inclusions achievable with One-2-One and UV–Creation resins, all created with the Cabochon-15 silicone mould for consistent results.
- "Cabochon-15" – Silicone Mould for Resin, Chocolate, Soap, Plaster – ø40mm£13.85Silicone mould for resin cabochons and other crafts. Designed to create shiny decorative pieces as part of jewellery making.
- "One-2-One" – Epoxy Resin for Handcraft, 1:1 Mixing RatioPrice range: £14.85 through £56.85"One-2-One" epoxy resin is a medium viscosity resin with easy 1:1 mixing, suitable for jewellery and cabochon crafting.
 "UV–Creation" – Fast Acrylic Resin, 3 Minute UV CurePrice range: £7.85 through £59.85UV–Creation is a ready-to-use acrylic resin that cures quickly under UV light, suitable for jewellery making and crafting cabochons.
 "Evershine Collection" – Artisan Jewellery Epoxy Resin Kit with 100+ Accessories£20.85An all-in-one epoxy resin kit designed for jewellery makers and craft enthusiasts, suitable for beginners and those making resin cabochons.
Frequently Asked Questions
How can I remove bubbles from resin cabochons?
Use a toothpick or gently apply a heat source like a heat gun or straw-blown air to pop surface bubbles before curing.
When can I demould resin cabochons?
For epoxy resin, demould after about 12 hours. UV resin cures in 2–3 minutes and can be demoulded immediately after curing.
What type of mould is best for making resin cabochons?
A silicone mould, like the Cabochon-15, ensures easy release and a shiny, professional finish for cabochons.
Should I use epoxy or UV resin for cabochons?
Epoxy resin suits larger or thicker cabochons, while UV resin offers fast curing and is great for small, thin shapes.
How do I add colour to resin cabochons?
Mix in a small amount of resin-compatible pigment or dye before pouring but avoid overloading, which can hinder curing.
Can I embed dried flowers or glitter in resin cabochons?
Yes, add them to your mixed resin before pouring. Place inclusions carefully to avoid trapping extra air bubbles.
What safety precautions should I take when making resin cabochons?
Wear gloves, work in a well-ventilated space, and avoid skin contact with uncured resin. Follow manufacturer safety guidelines.