 Free shipping on orders over £29,85


How do you make a sphere mould with resin?
Step-by-step guide to crafting spherical resin moulds at home
Creating a flawless sphere with resin is a rewarding way to produce unique jewellery, ornaments, or art pieces. This guide will walk you through the process of making your own resin sphere moulds and casting perfect spheres, covering necessary preparations, material selection, and finishing tips for best results.
What You’ll Need
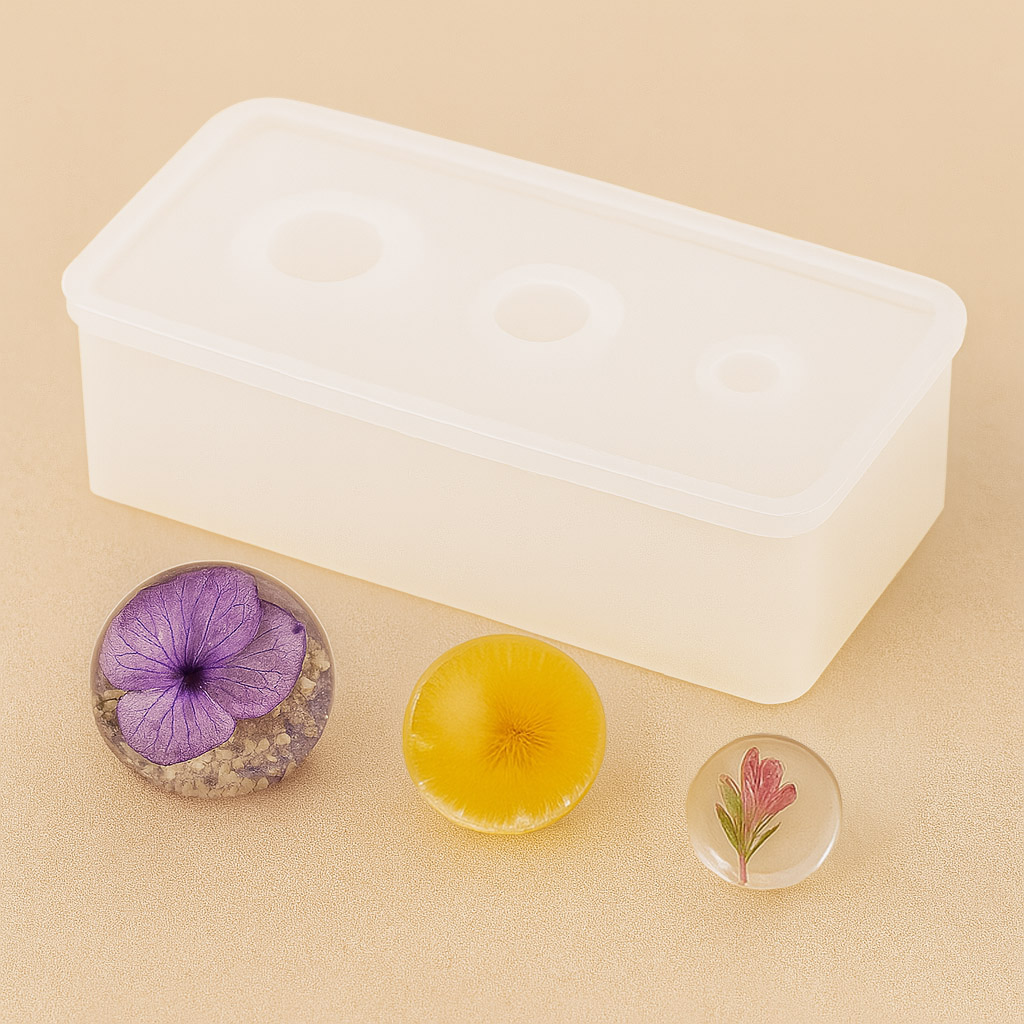
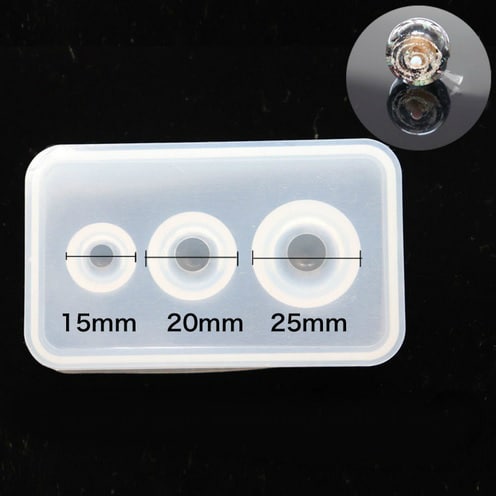
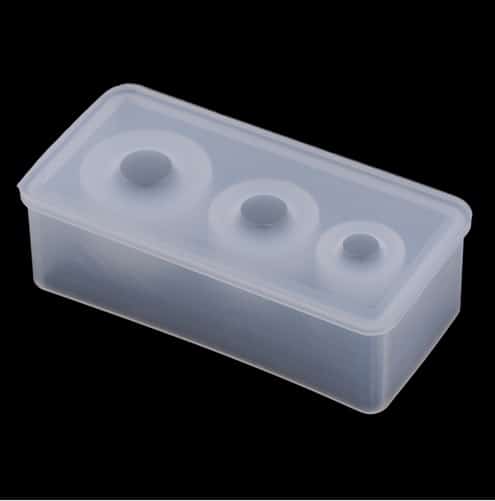
- “3 Sphere” – Silicone Mould for Jewellery and Crafts, 1cm-2.5cm Spheres: A reusable silicone mould designed for crafting small spheres in resin, soap, plaster and other suitable materials.
- “Cabochon-15” – Silicone Mould for Resin, Chocolate, Soap, Plaster – Ø40mm: A silicone mould designed for crafting with resin, chocolate, plaster and soap.
- Wooden Ball for Epoxy Resin Projects, 6cm Diameter: A sturdy wooden ball suited for use in various epoxy resin craft projects.
- Clear epoxy or casting resin
- Mixing cups and wooden spatulas
- Nitrile gloves and protective apron
- Isopropyl alcohol (for cleaning)
- Sandpaper (various grits) for finishing
Essential Materials for Resin Sphere Moulding
Before you start, gathering the correct materials ensures a smoother workshop experience. Using a reusable silicone mould simplifies the process and helps achieve clean, shiny finishes. Select your preferred sphere size and ensure all tools are thoroughly clean—this is vital to achieving crystal-clear, bubble-free results in your resin spheres.
Step 1: Prepare Your Materials and Workspace
Begin by ensuring your work area is clean and organised before starting the moulding process. Protective coverings, gloves and an apron will help prevent spills and skin contact with uncured resin. Layout all your materials and double-check the resin manufacturer’s instructions for mixing ratios and curing time. Dust, lint, and moisture can interfere with the clarity and surface quality of your sphere, so take a moment to wipe down surfaces and tools before proceeding.
Step 2: Select and Ready Your Mould
Using a reusable silicone mould simplifies the process, as silicone is naturally non-stick and flexible. Choose the right mould for your required sphere size—smaller decorative pieces and jewellery might benefit from the “3 Sphere” – Silicone Mould for Jewellery and Crafts, 1cm-2.5cm Spheres, while larger projects may require a different option. For larger or unique diameter spheres, a Wooden Ball for Epoxy Resin Projects, 6cm Diameter can be used as a template to create your own silicone mould. Ensure your mould is dry, clean and free of old material residue before casting.
Step 3: Mix and Pour Your Resin
Measure the necessary amounts of resin and hardener as defined by your resin product’s guidance, then mix slowly to reduce trapped air bubbles. If using colourants, add them at this stage and mix thoroughly. Carefully pour the resin into the sphere mould cavity, filling it to the top without overflowing. Tap the sides gently or use a cocktail stick to guide bubbles to the surface. If you’re using the “Cabochon-15” – Silicone Mould for Resin, Chocolate, Soap, Plaster – Ø40mm, ensure even distribution across each hemisphere cavity for symmetric shapes.
Step 4: Allow to Cure and Demould
Allow your resin to cure as per manufacturer instructions, typically ranging from several hours to overnight for complete hardening. Always allow resin to cure fully for best durability and transparency. Most silicone moulds require that you do not leave cured resin longer than 12 hours, as this can make demoulding more difficult and risk local adhesion. Gently flex the silicone to release the sphere or hemisphere: avoid using sharp tools that might damage the mould.

Step 5: Finishing Touches
Examine the demoulded sphere for any rough edges or imperfections. Use progressively finer sandpaper to smooth the seam lines or any blemishes caused by air bubbles. Polishing the surface can enhance clarity and shine if necessary. When using a two-part hemisphere mould such as the “Cabochon-15”, you can bond the hemispheres with a small amount of matching resin, ensuring perfect alignment before curing.
Tips and Troubleshooting for Sphere Resin Moulding
Keep your workspace dust-free to avoid surface imperfections. Remove cast resin within 12 hours to preserve your moulds and ease demoulding. Prevent bubbles by mixing slowly and pouring resin in a thin stream. If you notice voxels or a cloudy finish, it may result from insufficient mixing or humidity in the workspace. To salvage imperfect spheres, minor sanding and polishing often restore clarity and symmetry. For best results, always follow both resin and mould manufacturer guidelines.
Top Finishing and Care Solutions
Looking for flawless results? Always allow resin to cure fully before demoulding or sanding. Protect silicone moulds by cleaning with mild soap and avoiding sharp tools. Store your moulds and finished spheres away from direct sunlight to maintain their quality and shine.

- "3 Sphere" – Silicone Mould for Jewellery and Crafts, 1cm-2.5cm Spheres£6.85This semi-transparent silicone mould is suitable for creating spheres in various materials including resin and clay for crafts and jewellery.
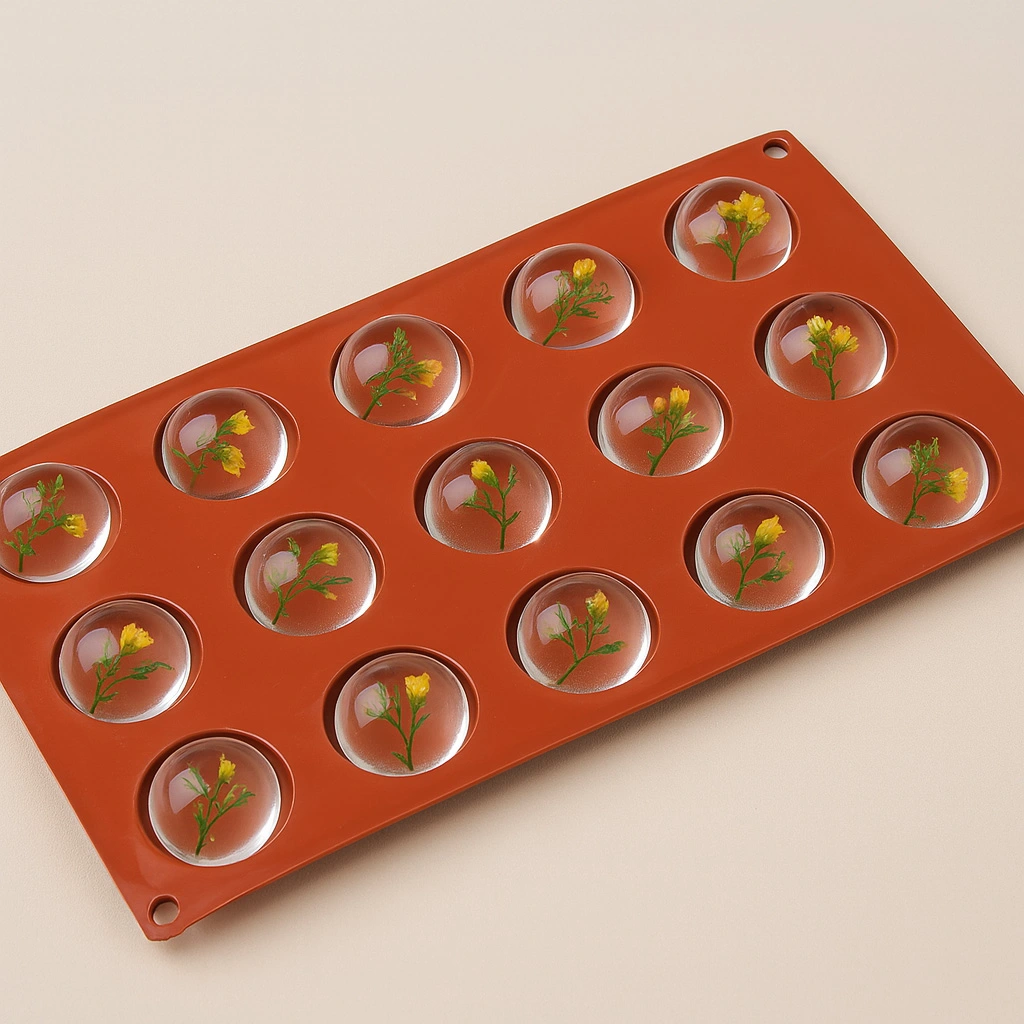 "Cabochon-15" – Silicone Mould for Resin, Chocolate, Soap, Plaster – ø40mm£13.85"Cabochon-15" is a shiny silicone mould designed for resin and other crafts, suitable for jewellery and decorative purposes.
 Wooden Ball for Epoxy Resin Projects, 6cm DiameterOriginal price was: £5.85.£3.15Current price is: £3.15.A 6 cm wooden ball designed for epoxy resin craft projects, suitable for DIY enthusiasts to enhance resin designs.
Frequently Asked Questions
What moulds work best for resin spheres?
Reusable silicone moulds are ideal due to their flexibility and non-stick properties, creating smooth, shiny resin spheres.
How do I easily remove the resin sphere from the mould?
Wait until the resin is fully cured, gently flex the mould, and avoid sharp objects to prevent damage to the mould or sphere.
How do I prevent bubbles in resin sphere moulds?
Mix resin slowly and pour in a thin stream. Use a cocktail stick to release trapped air from corners and edges.
Why should resin be removed from silicone moulds within 12 hours?
Removing resin within 12 hours helps avoid local adhesion and extends the life of your silicone moulds.
How do I finish and polish my resin spheres?
Sand rough edges with fine grit paper and polish with suitable compounds for a clearer, glassy appearance.
Can I make large resin spheres at home?
Yes, but you’ll need an appropriate-sized mould. For larger spheres, consider making a custom silicone mould based on a wooden ball template.
How do I care for my silicone sphere moulds?
Wash gently with soapy water, avoid sharp tools, and store out of sunlight for maximum durability.