 Free shipping on orders over £29,85


how to make erasers without silicone
Creative eraser crafting with alternative mould solutions


Making your own erasers can be a fun, practical activity – but what if you want to avoid silicone moulds? This guide walks you through simple, effective techniques for creating erasers at home, using everyday items and alternative materials instead of silicone. Whether you’re working with children or exploring creative DIY stationery, here’s how to get bespoke erasers without relying on traditional silicone moulds.
What You’ll Need
- Eraser-making clay or putty (commercially available from craft shops)
- Heatproof, non-silicone moulds (e.g., metal cookie cutters, plastic moulds rated for moderate heat, or firm food-grade containers)
- Non-stick baking paper or parchment
- Household oven or boiling water (check clay instructions for heat requirements)
- Clean work surface and basic kitchen utensils (rolling pin, spatula)
Visual Ideas for Alternative Moulds
Simple, creative moulds can be made from everyday objects like cookie cutters, small containers, and lined boxes. Metal and food-grade plastics are great options for a silicone-free approach. Make sure all moulds are heatproof if baking or boiling is required.
Step 1: Select and Prepare Your Moulds
Choose a mould that is entirely free of silicone—metal cookie cutters, plastic forms, or even custom cardboard cut-outs lined with non-stick baking paper can all work well. Clean and dry your tools thoroughly so no residues interfere with your eraser shaping. Line the chosen mould with a sheet of baking paper, if necessary, to help release the finished eraser and avoid unwanted sticking.
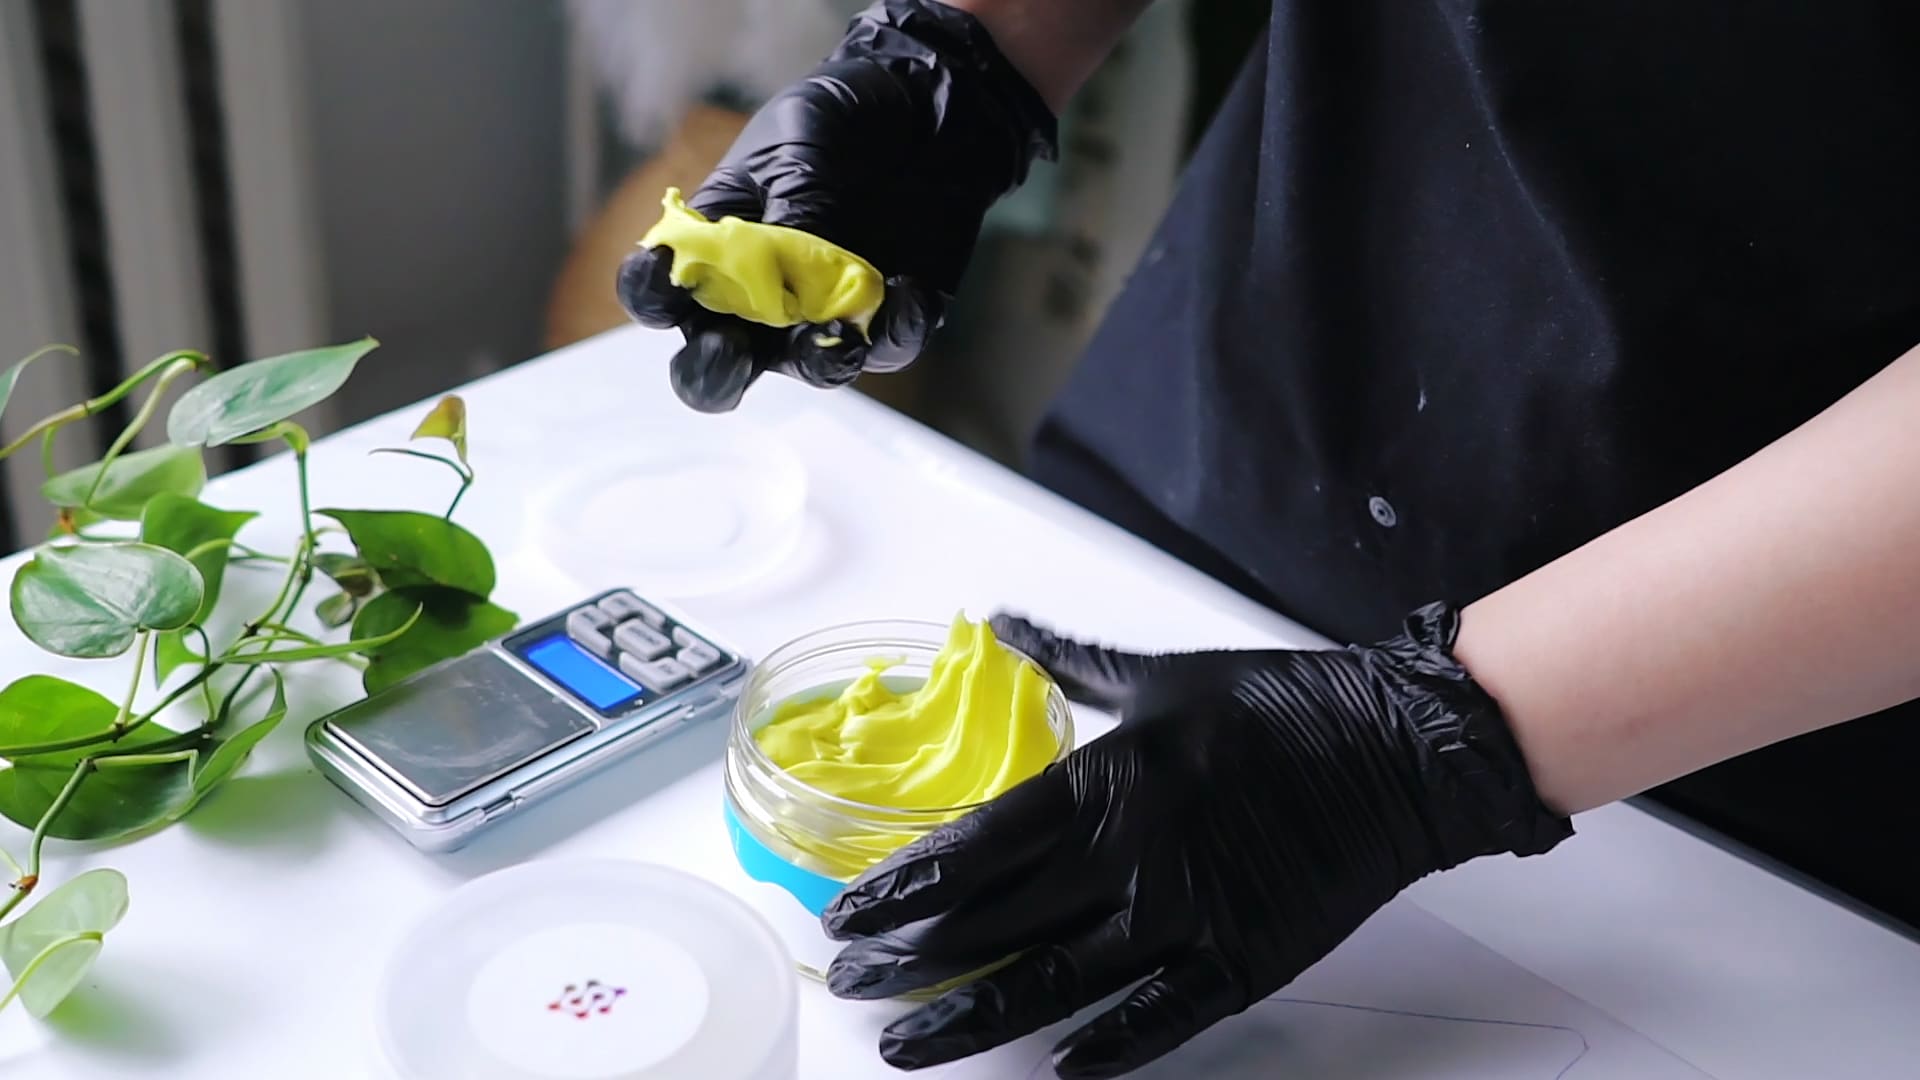
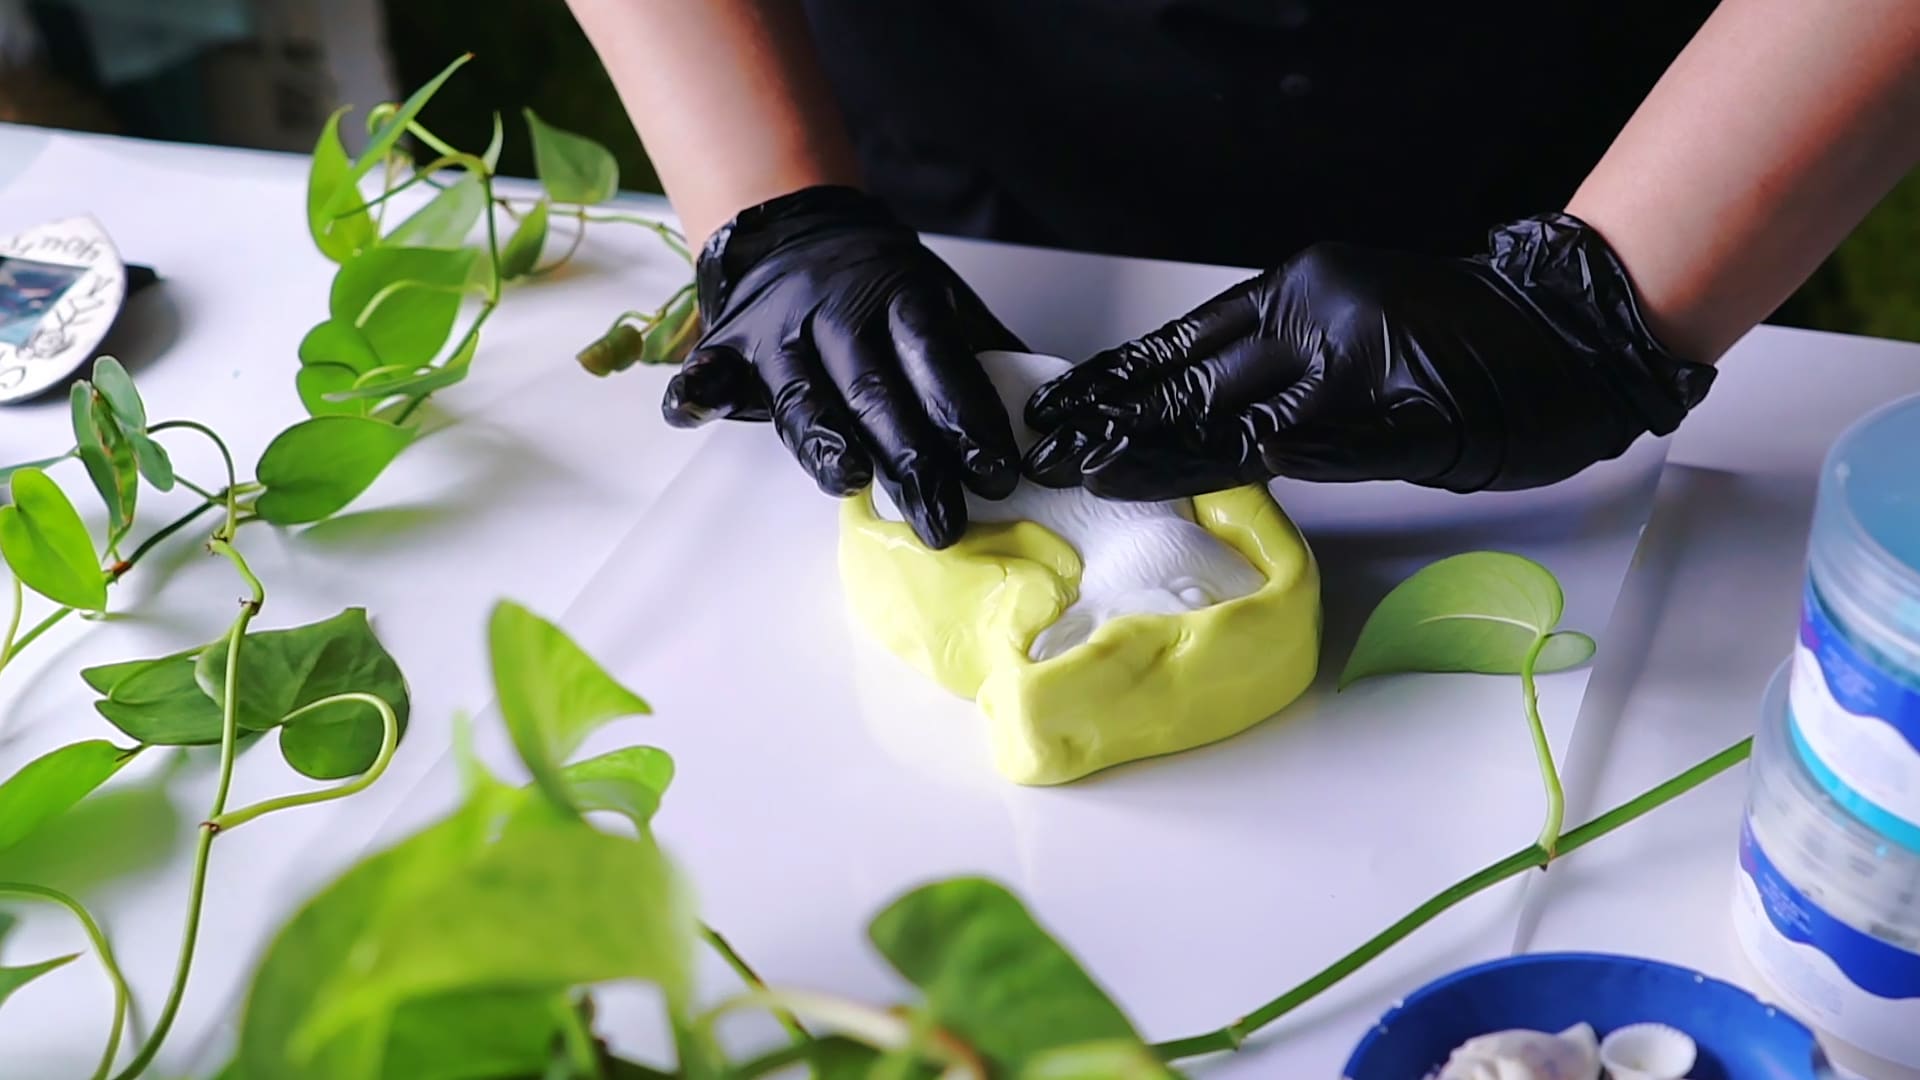
Step 2: Shape the Eraser Material
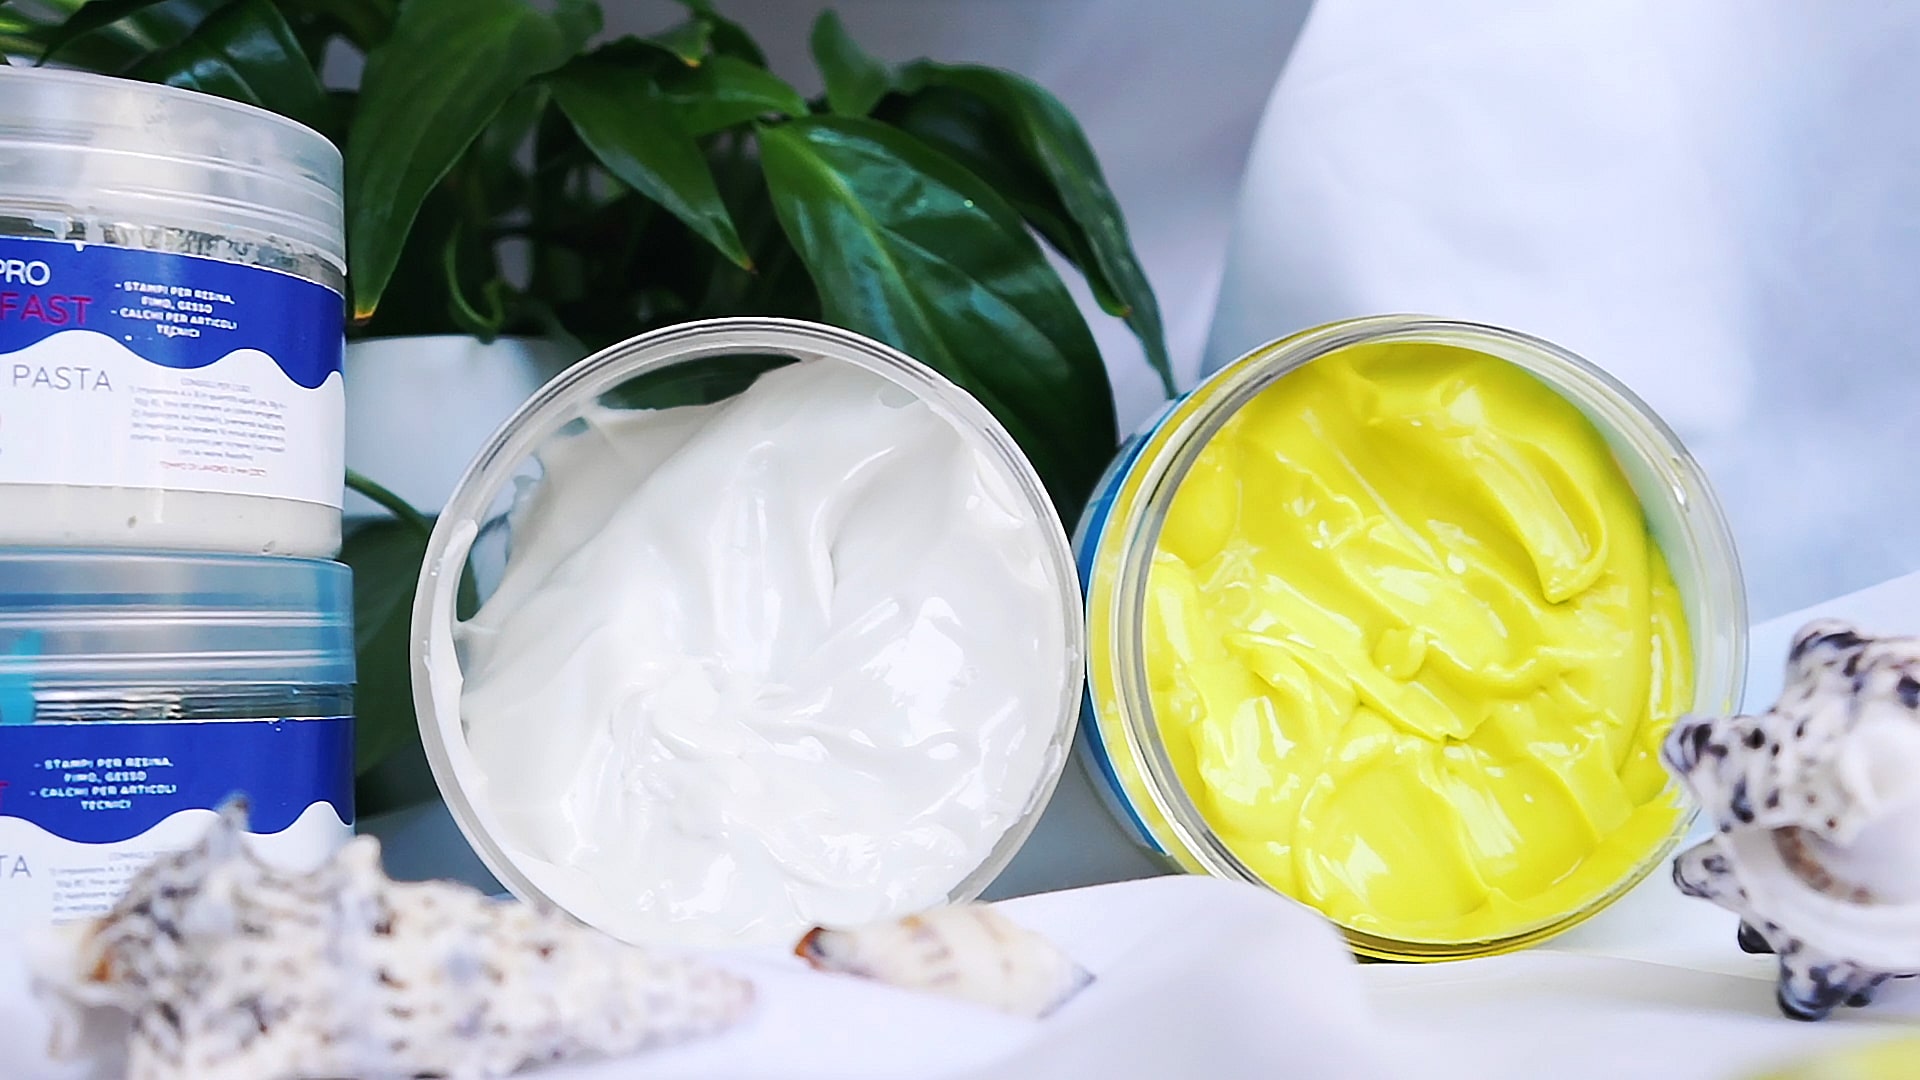
Take the eraser clay or putty and knead it gently until it becomes soft and smooth. Make sure to follow the manufacturer’s safety guidelines. Press the pliable material firmly and evenly into your prepared mould, smoothing the top surface with a spatula or your fingers. For unique shapes, you can hand-form pieces or use cutters to create interesting outlines. Avoid stretching the material too thin, as this can weaken the eraser once cured.
Step 3: Cure or Bake the Eraser
Check the instructions on your eraser material – most require gentle curing, either by baking in a low-temperature oven or boiling in water. Place the filled mould on a baking tray (if oven-baking) or gently lower it into simmering water (if boiling). Always supervise closely and follow the recommended times and temperatures to avoid burning or deformation. Once finished, allow the eraser to cool completely before handling it further.
Step 4: Demould and Finish
Once your eraser has set and cooled, gently remove it from the mould. Peel off the baking paper or pop it out of the non-silicone form. Trim any rough edges with a craft knife or your fingers for a neat finish. Test your new eraser on a pencil sketch to ensure it works well and does not crumble. If desired, decorate with markers or extra cut-outs for a personalised touch.
Tips and Common Mistakes
Choose your moulds with care – silicone-free options like clean metal, rigid plastics, or properly lined card can yield excellent detail if prepared well. Avoid moulds with intricate undercuts unless you’re confident they can demould easily. Always follow your eraser clay’s instructions for temperature and time to prevent cracks or incomplete curing. Be patient when removing the eraser from the mould to avoid tearing it while it’s still soft.
Troubleshooting and Decorative Inspiration
Personalise your erasers with colourful clay, shaped moulds, or added cut-outs. If your eraser is hard to remove after curing, gently flex the mould or use a thin spatula to assist demoulding without damaging the eraser.
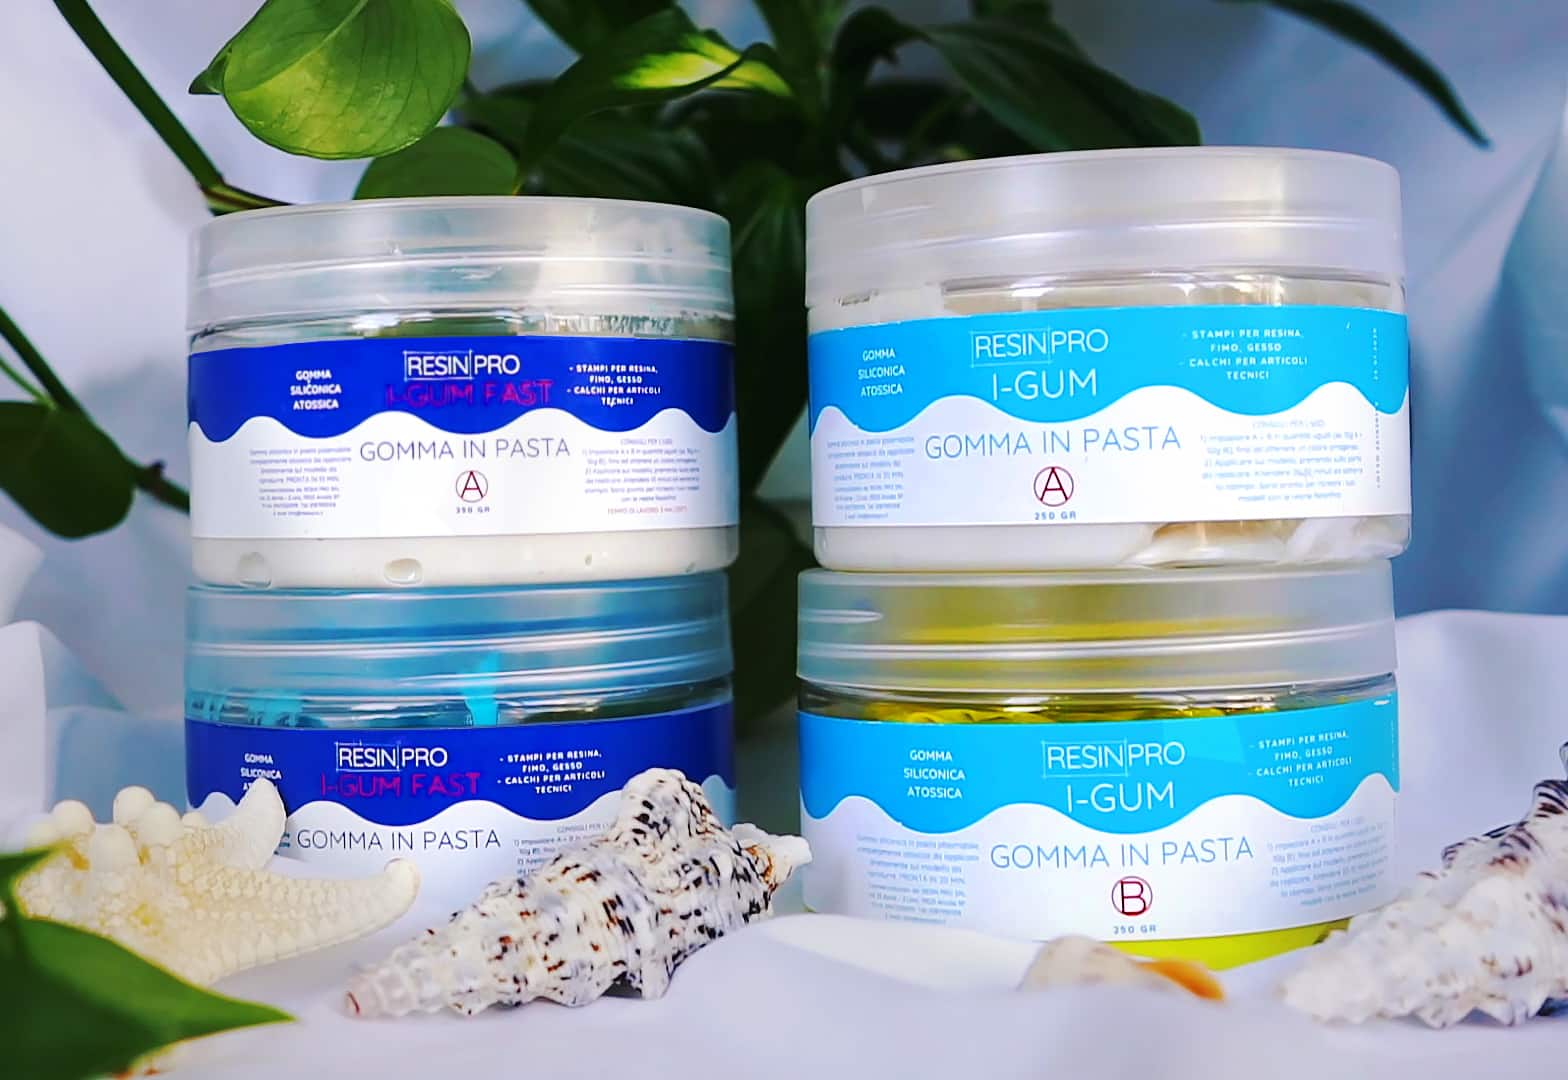
- "I–Gum" – Non-Toxic Silicone Putty for Mould MakingPrice range: £22.85 through £99.85"I–Gum" is a two-component non-toxic silicone putty designed for creating moulds suitable for resin and other materials.
- "Pure Mould" – Translucent Liquid Silicone Rubber for Mould MakingPrice range: £22.85 through £158.85"Pure Mould" is a platinum-based translucent liquid silicone rubber suitable for creating detailed moulds compatible with various materials.
 "Silicone Circle Mould" – For Creating with Epoxy Resin, Ø 20cm£12.85Flexible silicone mould suitable for making decorative objects with epoxy resin. Designed for crafting unique coasters and artistic pieces.
 "Liquid Mould" – Casting Liquid Silicone Rubber, 5-40 Shores, Bi-Component A+BPrice range: £13.45 through £368.85"Liquid Mould" is a liquid silicone rubber for detailed mould making, compatible with resin and polymer pastes, suitable for complex shapes without…
Frequently Asked Questions
What are the best moulds for making erasers without silicone?
Metal cookie cutters, food-safe plastic shapes, and cardboard lined with baking paper all work well as silicone-free moulds.
Can I use regular clay as an eraser?
Regular clay will not erase pencil marks. Use eraser-specific clays or putties for functional erasers.
How can I stop my eraser sticking to the mould?
Line your mould with non-stick baking paper or use a light dusting of cornflour to help with easy release.
Can I make several erasers at the same time?
Yes, prepare several moulds and shape multiple pieces for batch production, following the same curing instructions.
Is it safe to make erasers with children?
Yes, with supervision and using non-toxic, child-safe eraser materials. Always assist with baking or boiling steps.
How do I decorate custom erasers?
Use permanent markers or press in small shapes before baking for creative results. Test a small area first.
When is my homemade eraser fully cured?
It is cured when it is firm to the touch and cool after baking or boiling, as specified in the eraser clay instructions.