 Free shipping on orders over £29,85


how to make a mould for resin
Step-by-step guide to crafting your own durable moulds


Crafting your own moulds unlocks creative freedom in resin projects, allowing you to create original shapes or replicate favourite items with professional quality and finish. Whether you’re a hobbyist or developing a product line, making a custom resin mould brings your ideas to life and ensures lasting, reusable results when using the right techniques.
What You’ll Need
- “Pure Mould” – Translucent Liquid Silicone Rubber for Mould Making: A translucent liquid silicone rubber for mould making suitable for professional and hobby use with quick curing and good mechanical resistance.
- “Silicone Circle Mould” – For Creating with Epoxy Resin, Ø 20cm: Flexible, reusable silicone mould for creating decorative epoxy resin pieces with ease and durability.
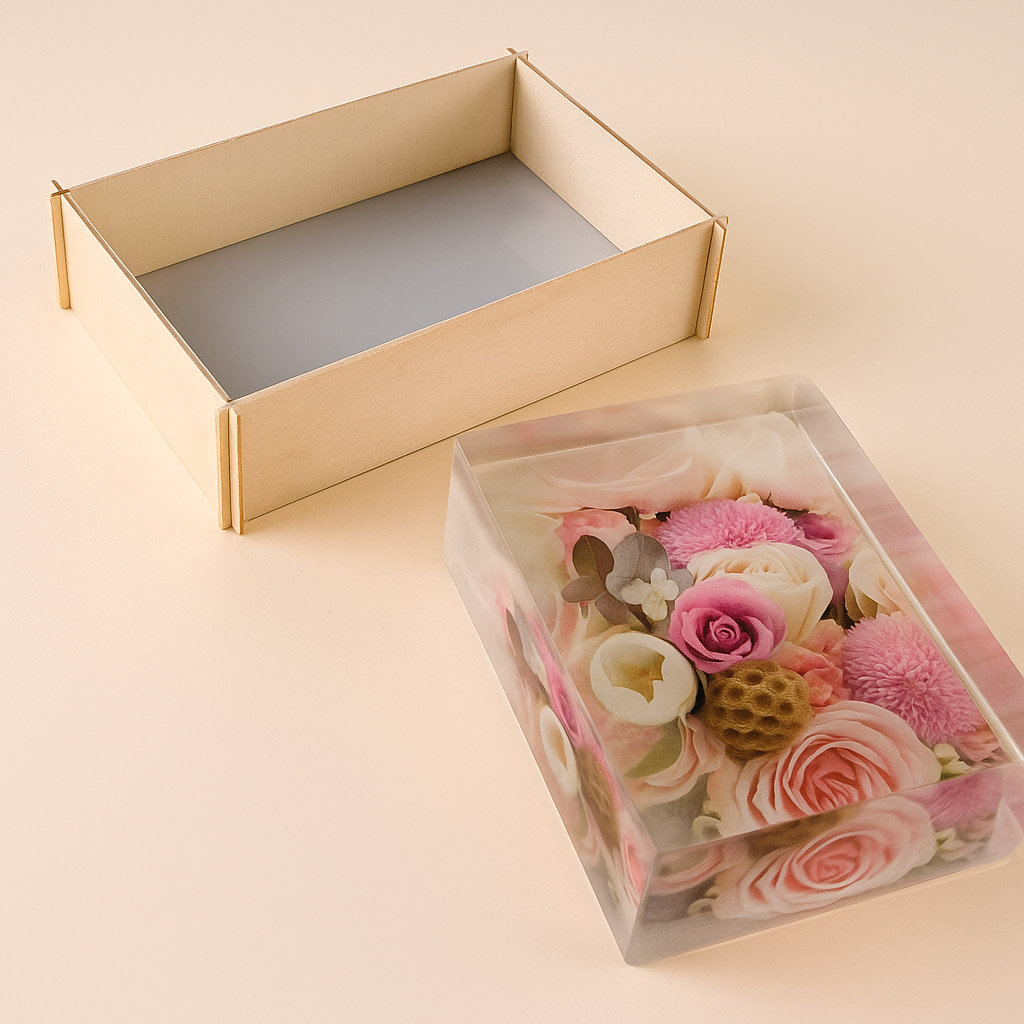
- “Rectangular Mould” – Silicone Formwork 19.5×13.5cm: A reusable silicone mould suitable for rectangular resin creations measuring 19.5×13.5 cm.
- “Silicone Heart Mould” – For Creating with Epoxy Resin, 19.5 x 16.5cm: A flexible, reusable silicone mould suitable for creating decorative epoxy resin objects.
- Modelling clay, plasticine or an object to replicate
- Mixing containers and stirrers
- Protective gloves, apron and workspace covering

Essential Tools and Materials for Mould Making
You’ll want to gather your main mould-making silicone, measuring containers, protective gear, and your chosen master object before starting. Selecting a well-matched silicone rubber, such as a platinum-cure formula, ensures reliable detail and long-lasting performance. Choose containers and stirrers that won’t introduce contaminants to your resin or silicone mixes.

Step 1: Prepare Your Master Object and Workspace
Begin by selecting a clean, dry object to use as the master for your mould. This could be anything from a small figurine to a coaster or decorative item. Clean the object thoroughly to remove dust, oil or residues, as these can affect mould detail and release.
Set up a small box or container slightly larger than the object to act as a mould cavity. Securely fix your object to the base using modelling clay or hot glue to prevent it floating when you pour silicone. Make sure your workspace is flat, and cover surfaces to guard against spills.
Thorough surface cleaning gives the best results in achieving crisp details in every mould.
Step 2: Mix and Prepare the Silicone
Check the manufacturer’s instructions for your chosen silicone product and measure the required quantities precisely. For dependable results when making custom moulds for resin, opt for a product with a straightforward 1:1 mixing ratio and good mechanical strength. “Pure Mould” – Translucent Liquid Silicone Rubber for Mould Making is well suited, as its easy mixing ratio streamlines the process and its transparency helps avoid trapping bubbles over fine details.
Combine both parts of the silicone in a clean mixing container and stir gently but thoroughly. Avoid vigorous mixing—this can introduce unwanted air bubbles. Scrape the sides and bottom for a complete blend.
Accurate measuring and mixing is crucial for a uniform cure and best long-term performance.
Step 3: Pour the Silicone Over Your Master
Once mixed, slowly pour the silicone into the prepared container, starting at one corner and letting it flow gradually over the object. Pouring from a height of several centimetres helps thin the silicone stream and minimises bubble formation. Continue pouring until the object is fully covered, ideally leaving several millimetres above the highest point.
Gently tap the sides of the container or lightly jiggle to help air bubbles rise to the surface and burst before curing begins. Acting quickly but carefully during this step helps secure sharp detail and ensures a uniform mould wall.
Pour silicone slowly and steadily to reduce air pockets forming around detailed edges.

Step 4: Allow the Silicone to Cure and Demould
Cover the mould loosely to keep dust away and leave it undisturbed for the required curing time. With products like “Pure Mould” – Translucent Liquid Silicone Rubber for Mould Making, curing typically takes 3–8 hours depending on room conditions and silicone volume.
Once the silicone is fully set and firm to the touch, gently flex or peel it away from the box, releasing the master object. Take care with sharp details to avoid tearing, and inspect your new mould for completeness and surface quality.
Allow the silicone to cure completely before removing the mould, as premature demoulding risks deformation.

Tips, Common Mistakes and Troubleshooting
Always follow the silicone instructions for mixing ratios and cure times, as deviations can cause sticky or weak moulds. Ensure your object is securely fixed and avoid pouring silicone onto dusty or oily surfaces, which can compromise definition. When casting, a non-stick surface aids demoulding; consider gentle soap or a specialist release agent if using awkward shapes.
Store finished moulds away from direct sunlight and extreme heat to maximise longevity and flexibility. Regular cleaning with mild soap and water keeps them in top condition. Store and handle moulds gently to prevent tears and distortion, especially around fine details.
Caring for and Storing Your Silicone Moulds
Proper storage keeps your silicone moulds durable and flexible over many uses. Clean thoroughly with mild soap and water, air dry, and store away from sunlight and dust. This helps prevent premature ageing and elongates their useful lifespan for resin casting projects.

- "Pure Mould" – Translucent Liquid Silicone Rubber for Mould MakingPrice range: £22.85 through £158.85A translucent platinum-based silicone rubber designed for making moulds compatible with various resins and materials.
- "Silicone Circle Mould" – For Creating with Epoxy Resin, Ø 20cm£12.85A flexible silicone mould designed for making decorative objects with epoxy resin, suitable for crafting coasters and personalised items.
 "Rectangular Mould" – Silicone Formwork 19.5×13.5cm£10.85"Rectangular Mould" is designed to create square-shaped resin items using professional silicone and chipboard dowels.
 "Silicone Heart Mould" – For Creating with Epoxy Resin, 19.5 x 16.5cm£12.85Flexible silicone mould designed for artistic resin creations such as coasters and decorative items.
Frequently Asked Questions
How much silicone should I use to make a mould for resin?
Calculate the volume of your container minus your master object. Add 10–20% extra to ensure full coverage and account for any spillage.
What type of silicone is best for making resin moulds?
Platinum-based, translucent silicone is ideal for resin moulds due to its strength, flexibility and ability to capture fine detail.
How do I avoid air bubbles when pouring silicone for a mould?
Pour slowly in a thin stream from a height and gently tap the container to help bubbles rise to the surface before curing.
When should I remove the silicone mould from the container?
Remove the mould only when it is fully cured and firm to the touch. Premature demoulding can cause tears or distortion.
Can I reuse the moulds I make for multiple resin castings?
Yes, quality silicone moulds are designed for repeat use. Clean them after each use and store properly to maximise their lifespan.
How do I clean my silicone moulds after use?
Wash with mild soap and warm water, rinse thoroughly, and let air dry before storage to preserve surface quality.