Free shipping on orders over £29.85

Dear customer! We`d like to make sure everything goes well and you get the best results possible when working with resin. But.. Not everything depends on manufacturer’s side. Please read these instructions and you will get wonderful results.
⚖️ 1. PROPORTIONS. ⚖️
THE PROPORTIONS PRINTED ON THE TANKS, PLEASE CHECK IT BEFORE USING
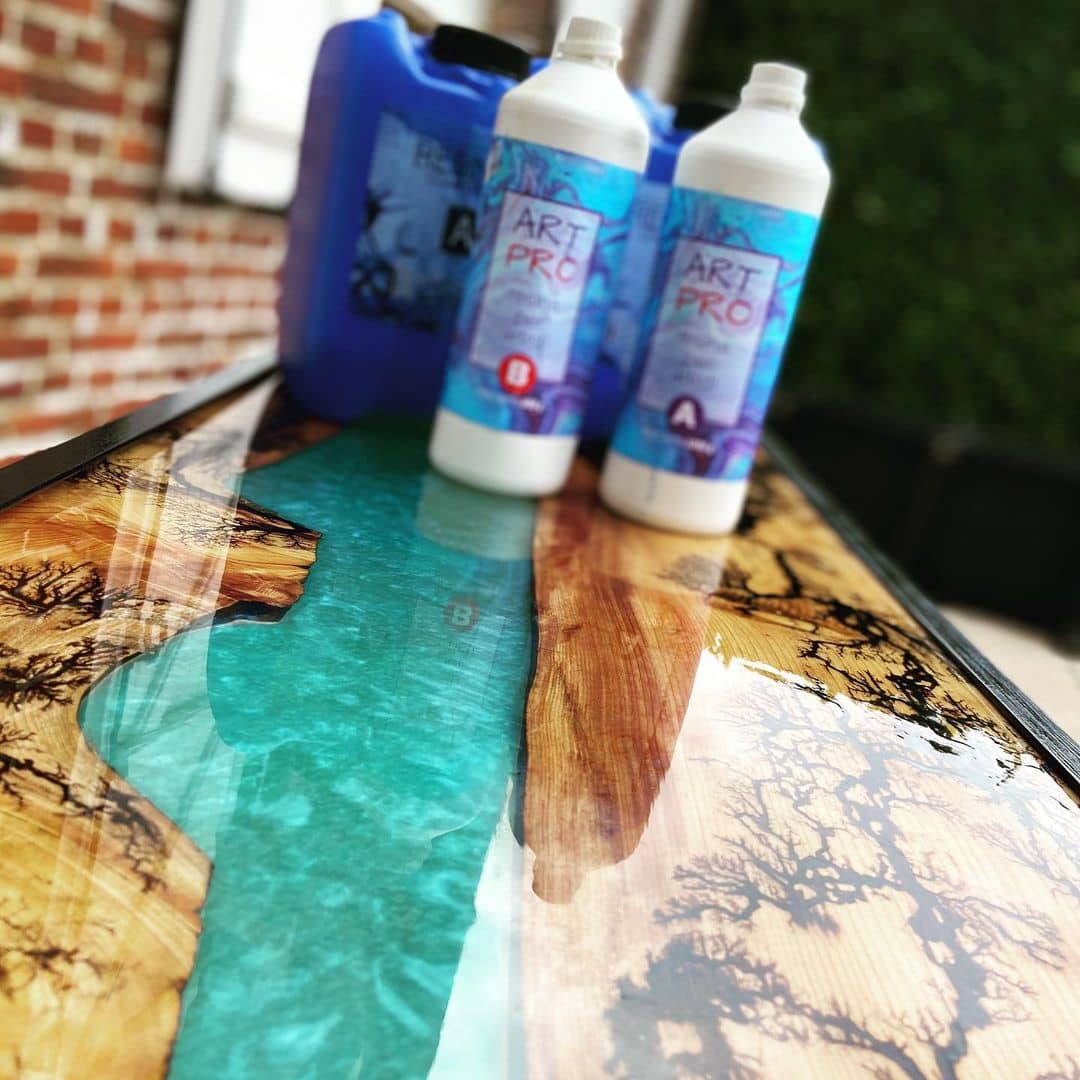
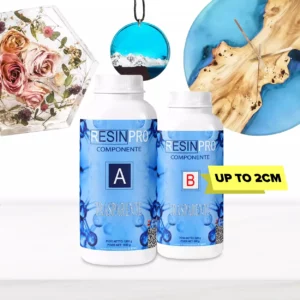
Being a two-component resin, you have 2 bottles at your disposal, one containing resin “A” and the other containing hardener “B”. You will need some electronic scales to weigh grams and a mixing container where you can combine the liquids.
How to calculate, how much hardener do you need? Take your proportions –JUST AN EXAMPLE – 100:60. Then take the weigh of component A and multiply on B, (if 100:60 – A*0.60; if 100:70 – A*0.70; if 100:87 – A*0.87).
So! If you have component A 5kg, and proportions 100:60, your calculation –
5*0.6=3kg of component B.
Please, use some electronic scales and weigh in grams to get the best results.

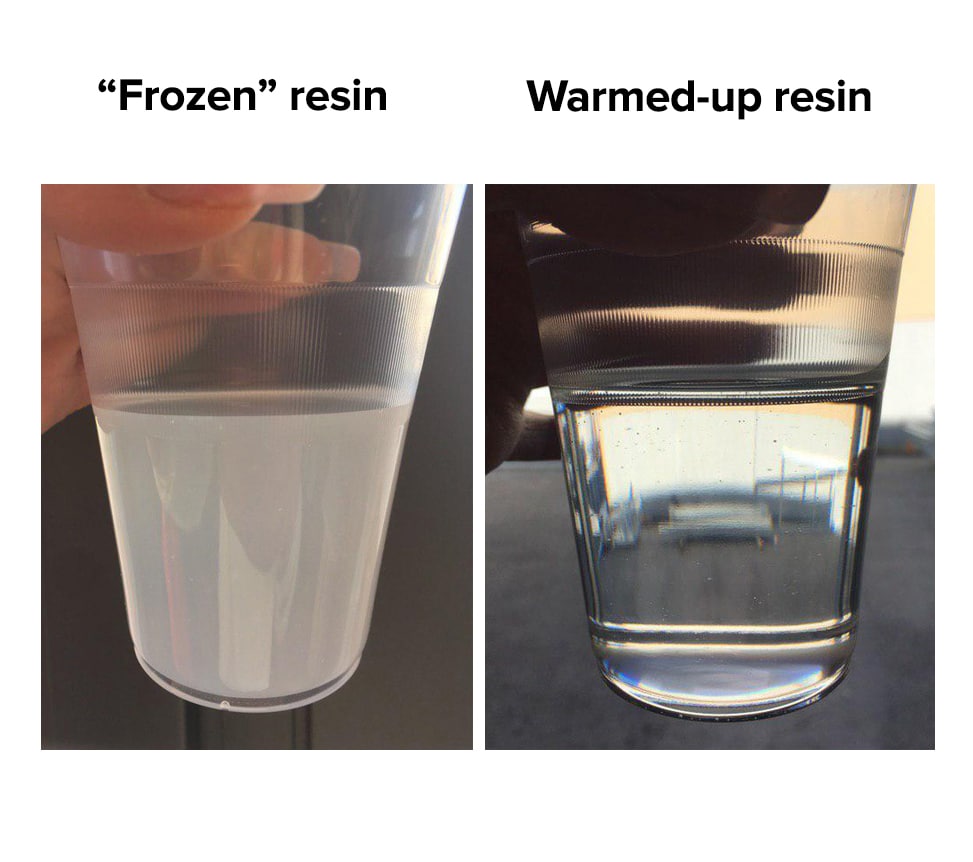
❄️ 2. FROZEN EPOXY. ❄️
Epoxy can become frozen under 20C.
There is no excuse that you hold your epoxy inside a warm room, the epoxy could be frozen much before, and only proper defrosting will return the lost transparency and liquidity.
How to understand why your epoxy was frozen? The component A is murky or solid, like frozen water. Don`t worry, there is no need to dispose of your epoxy and run to leave a bad review. It`s okay. You need to do only one thing – to defrost it, warming component A to 50-70 ° C. We usually put the closed tank inside the sink with very hot water and leave it for 20-30 minutes and leave it for 20-30 minutes. The problem is next – the more epoxy inside the tank, the more difficult to warm it properly, so just repeat the procedure. If it doesn`t help, just try again, because we sold thousands of tons of the epoxy resin and every time the problem was sorted out by waiting a little bit longer in hot water (of course with the closed lid). Yes, we totally understand that it causes excessive movements, but it`s natural and it could happen with any other epoxy.
Of course, after defrosting you need to cool the component A to the room temperature before using.

🔥 3. OVERHEATING. 🔥
There are many ways to ruin your project and we listed all the known ways at this moment (If you have any other issues, please contact us.)
Let`s start!
🔥
A) Every epoxy has the limit of depth of layer you could do per one application (For example “Transparent” epoxy resin – 2cm; Epoxytable-5 and Crystal-5 – 5cm).
If you need to make a larger layer, just pour in several steps, waiting 8-10h the first time; 10-12h in the second time and 12+h the third time).
🔥
B) If one side of casting is more than 100cm long, please, create your project in layers (each layer being 1-2cm thinner than recommended) with a time interval like above – (waiting 8-10h the first time; 10-12h the second time and 12+h in the third time).
🔥
C) If you do a Round casting, and the required weight A+B exceeds 3kg, create your project in the same way as above (less thickness per application + longer waiting between layers). 🔥
D) Be especially careful when working with resins for large castings, when mixing a large amount of resin, do not leave the mixture for a long time in one container – pour it immediately into other smaller containers to avoid the “mass” effect: the resin begins to heat up quickly and hardens instantly with defects without the chances to change it in any way.
🔥
E) If you`re still reading, we`re definitely proud of you!
The last thing on what we`d like to pay your attention is the restriction by amount of epoxy resin per application. Yes, it`s quite difficult for understanding, but the more epoxy you use – the more chance to burn it.
What to do? Just check the label!
For example, for ICRYSTAL-5 we insistently recommend don`t make larger thickness depended on weight per application –
5cm –> maximum 12kg per application
4cm –> maximum 14kg per application
3cm –> maximum 20kg per application
2cm –> maximum 100kg per application
IF YOU`RE GOING TO MAKE LARGER THICKNESS, JUST WAIT 12-14h and make an additional layer, with the same rules, like above.

IF YOU MEET MORE THAN ONE EXCEPTION IN YOUR PROJECT, REDUCE THE SIZE OF YOUR APPLICATION AGAIN. Epoxy resin is a complicated technical product, but if you follow the basic rules, you will get wonderful results!


 Chipboard formwork
 For point 1 (impossibility to take care of all the details at the same time) the only possible solution is to prepare the whole procedure in an organic way so that, at the time of casting, you only have to concentrate on the aesthetics of the product.
 As we have seen from previous articles, the overheating of the resin, the acceleration of catalysis and the consequent incorporation of micro-bubbles, are unfortunately a chemical phenomena that derive from the so-called mass effect.