Free shipping on orders over £29,85

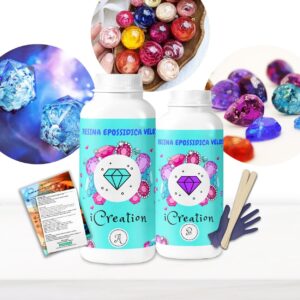
Epoxy Jewellery Creation with “TRASPARENTE” – Superior Multipurpose Casting Clear Epoxy Resin
Creating beautiful jewellery with epoxy resin requires a product that offers clarity, durability, and ease of use. The “TRASPARENTE” Multipurpose Casting Clear Epoxy Resin from Resin Pro is designed to meet these needs, making it an excellent choice for both beginners and professionals in epoxy jewellery creation. This resin combines non-toxicity with exceptional performance, allowing artists to craft stunning pieces with confidence and safety.
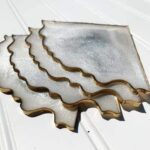
Whether you are casting delicate pendants, rings, or embellishing larger decorative items, this transparent epoxy resin delivers sharp, glossy results without compromising on quality or safety. Its formulation is well suited to jewellery applications alongside other creative projects.
What “TRASPARENTE” Epoxy Resin Is and What It’s For
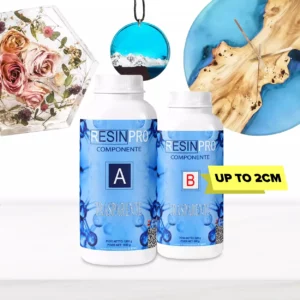
“TRASPARENTE” is an ultra-clear, multipurpose epoxy resin designed for casting projects up to 2cm thick. It is highly valued in epoxy jewellery creation for its crystal-clear transparency and self-levelling, glossy finish that accentuates embedded objects and colours perfectly. This resin is notable for its superior scratch resistance and UV filter which protects the cured surface against yellowing—backed by a 10-year warranty.
Ideal for use in jewellery making, “TRASPARENTE” also suits a wide range of other applications including woodworking coatings, small tables, lamps, and artistic creations, which may complement jewellery displays or creations. Its compatibility with silicone moulds, wood, fabric, glass, and paper further expands its utility in detailed and intricate jewellery pieces.
Importantly for creators concerned about health and environmental impact, “TRASPARENTE” is certified non-toxic, solvent-free, odourless, cruelty-free, and vegan friendly. This makes it particularly appropriate for indoor use and safe for artists who prioritise non-toxic materials in their studios.
How to Use “TRASPARENTE” Epoxy Resin for Jewellery Creation

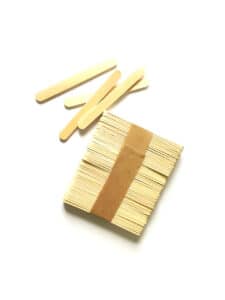
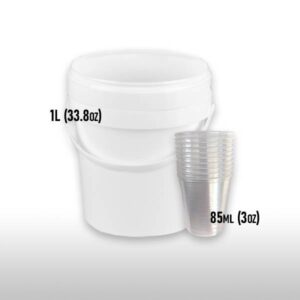
- Prepare your workspace: Ensure good ventilation or work in an open area. Lay down protective covering and gather gloves and mixing sticks, which are provided free with the product.
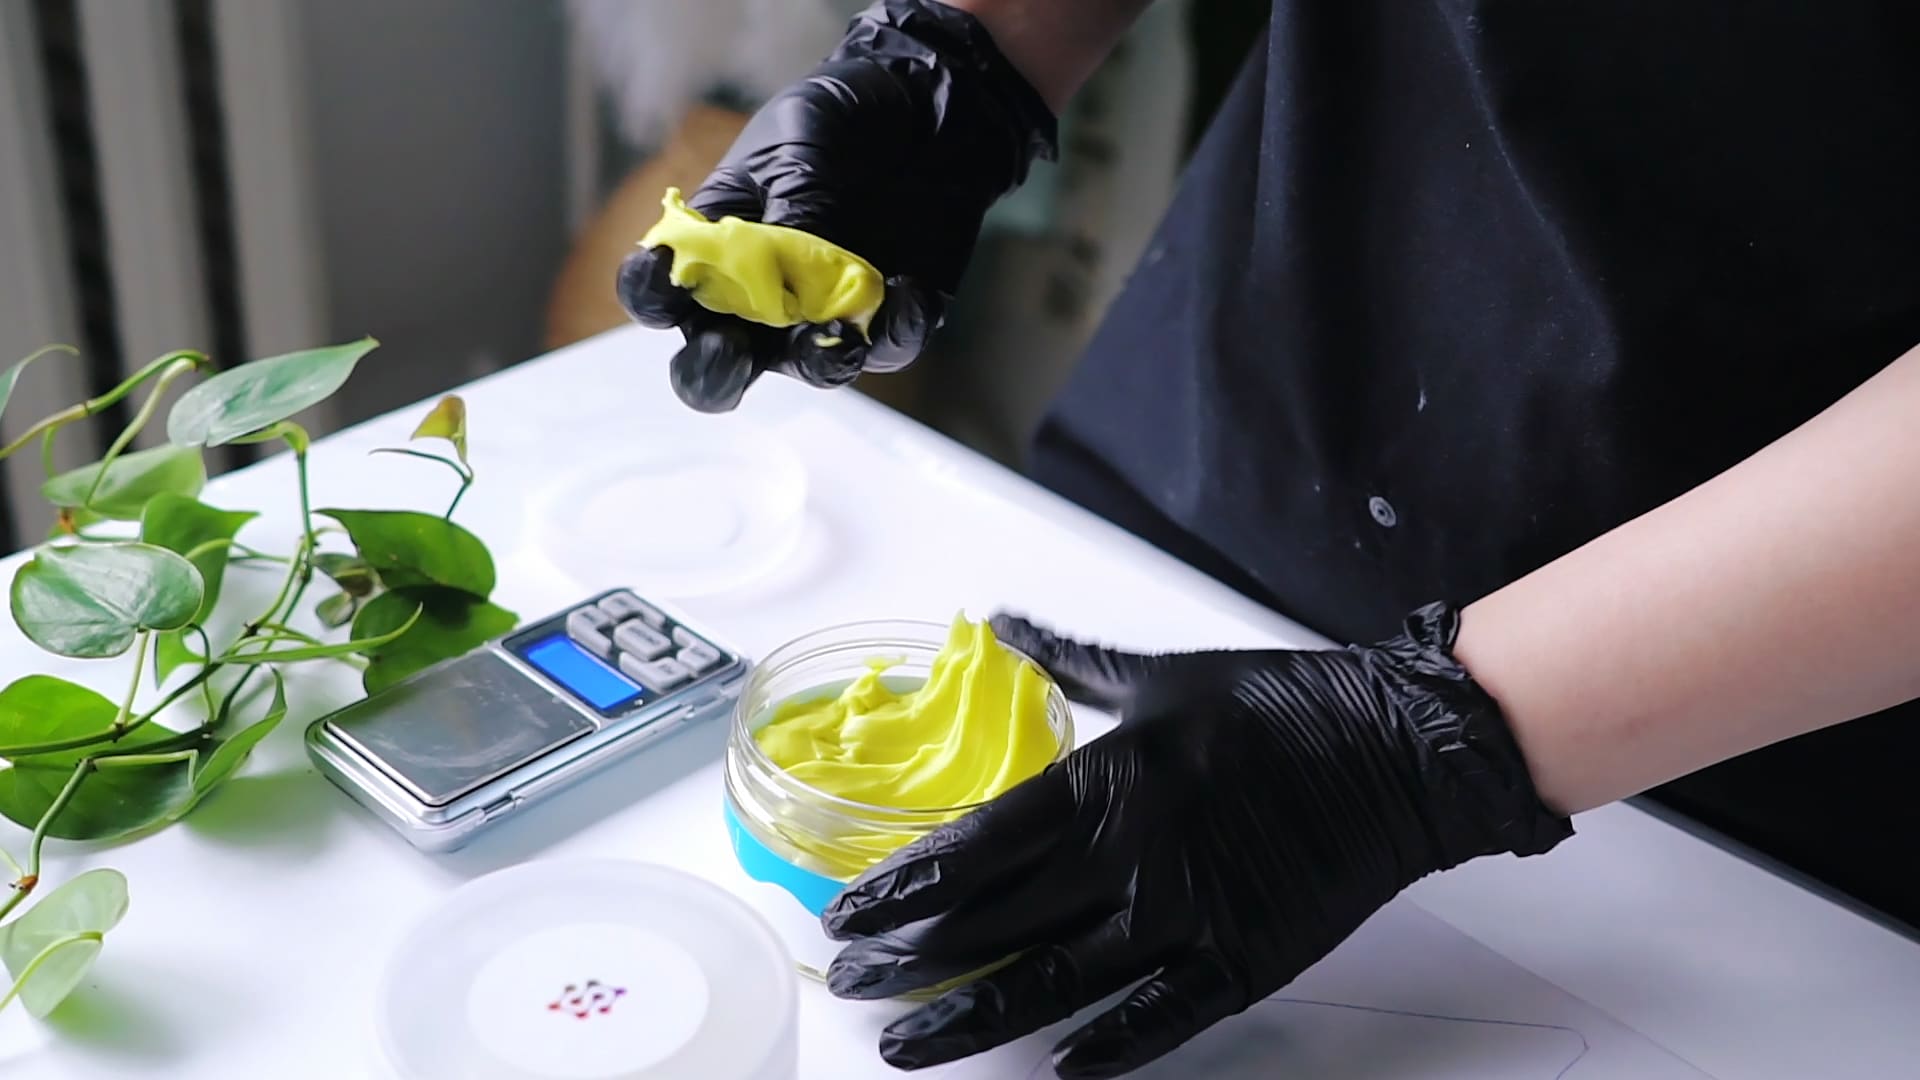
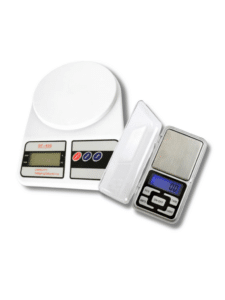
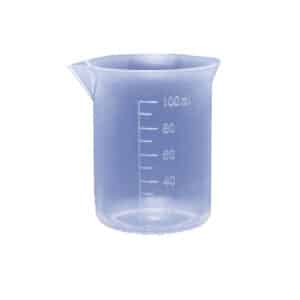
- Measure accurately: Mix the resin components at the given 100:60 ratio of RESIN A to HARDENER B. Accurate measuring is key to achieving a proper cure and the desired clarity.
- Mix thoroughly: Stir the two components together carefully to avoid bubbles but ensure a uniform blend. This step is crucial for a smooth and glossy finish.
- Add pigments or embed objects: If desired, mix in pigments or place items into your mould or jewellery frame before pouring the resin.
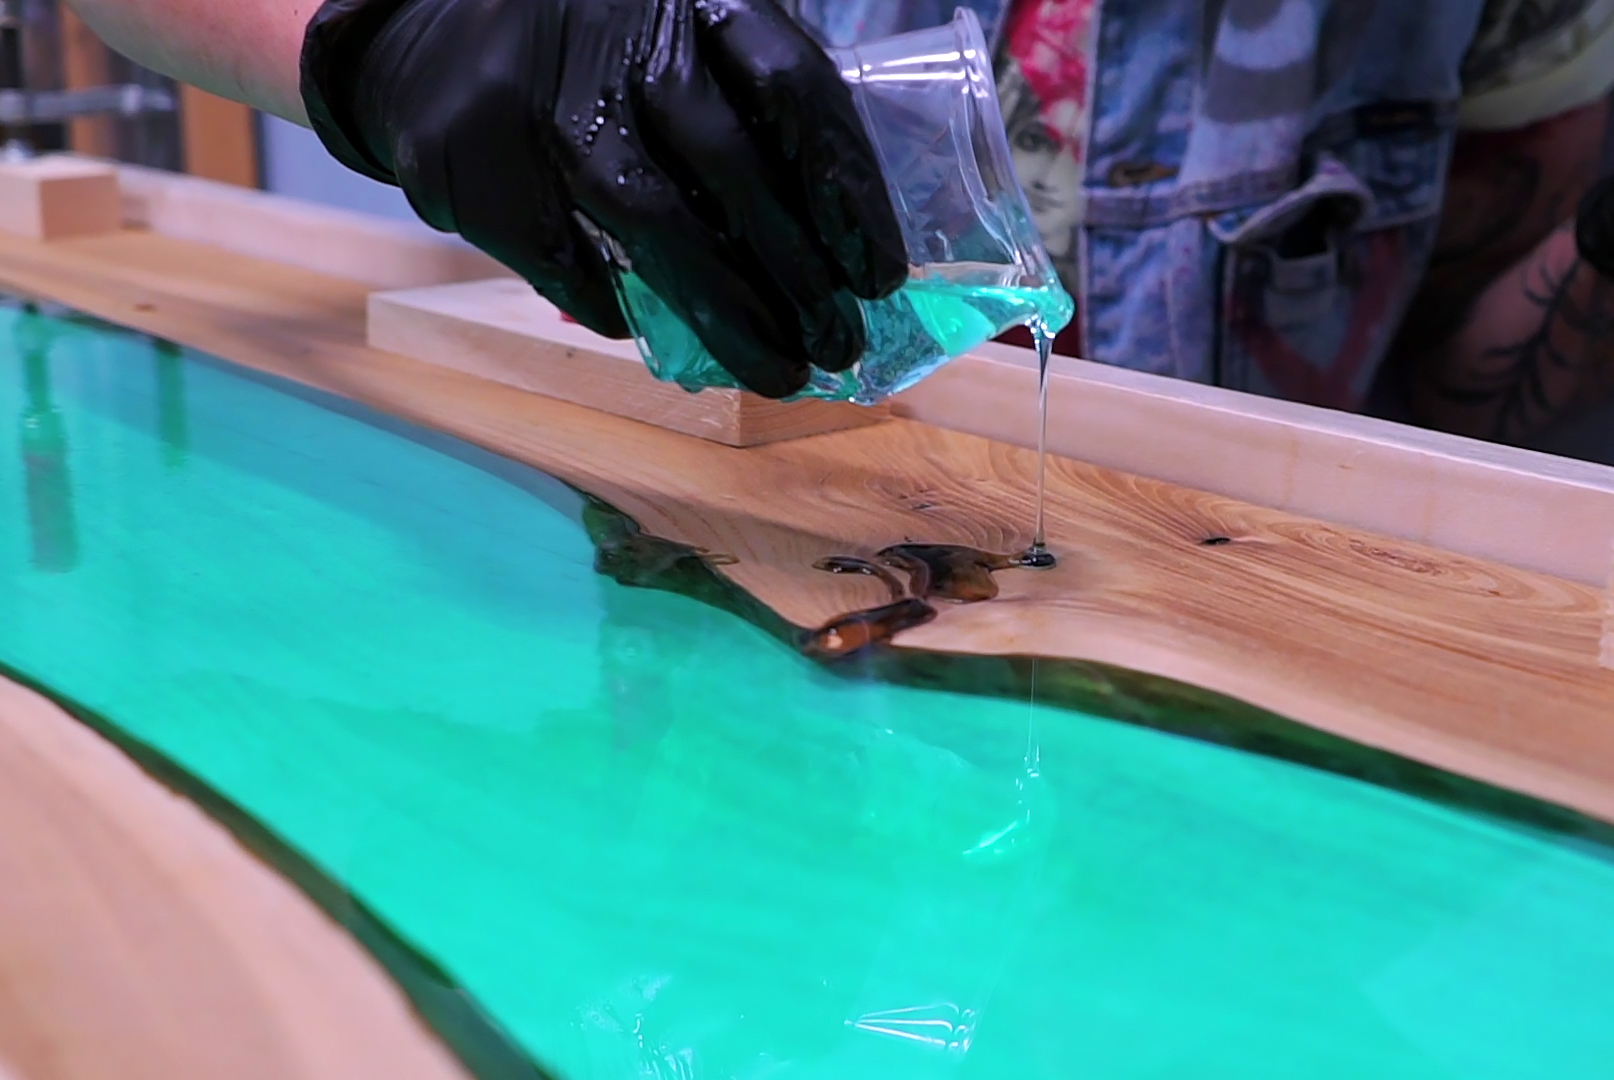
- Pour the resin: Carefully pour into your preparation, whether mould, bezel, or surface, up to 2cm thick for optimal results.
- Allow to cure undisturbed: Let the resin harden naturally at recommended room temperature without adding extra substances or excessive heat.
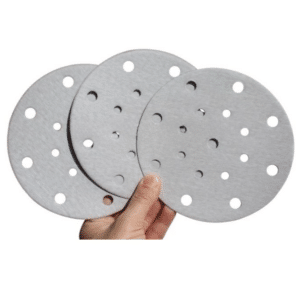
- Finish your piece: Once cured, your jewellery can be sanded, polished, or further decorated as needed to achieve the perfect final look.
Detailed instructions accompany each kit, ensuring users can work efficiently and safely, even on their first project.
Tips and Common Mistakes in Epoxy Jewellery Creation with “TRASPARENTE” Resin
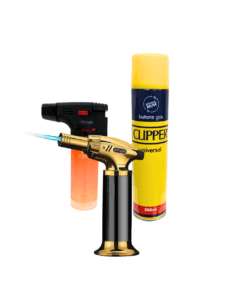
- Avoid excess heat or direct sunlight during curing to prevent yellowing or uneven surfaces, even though the resin has UV protection.
- Maintain the recommended mixing ratio to ensure full curing and the optimal crystal clear effect of the resin.
- Work in a dust-free environment to keep your cured resin surface clean and glossy.
- Be patient during curing: avoid touching or moving the piece until it is fully hardened to prevent marks and dents.
- Use gloves and masks, especially if you are sensitive, even though the resin is non-toxic and odourless, to maintain good practice and safety.
- For embedding delicate elements, ensure they are fully dry and clean to avoid trapped moisture or impurities.
FAQ
- Question: Which resin to use for cremation jewellery involving memorial ashes?
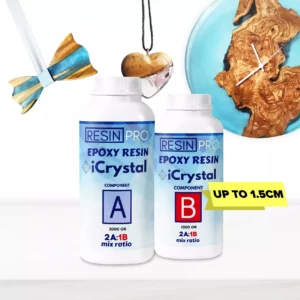
Answer: For jewellery casting up to 2cm thickness, “TRASPARENTE” is recommended due to its clarity and safe formulation. For thicker pieces, other products like EpoxyTable-Five would be more suitable. - Question: What size projects is “TRASPARENTE” suitable for?
Answer: It is ideal for casting layers up to 2cm thick. For projects larger than 100cm on any side or thicker layers, other Resin Pro products like EpoxyTable-Five or EpoxyTable-Ten should be considered. Visit the multipurpose epoxy resins category for options. - Question: Is “TRASPARENTE” suitable for beginners?
Answer: Yes, the product is designed to be easy to use with a straightforward mixing ratio and comes with gloves, mixing sticks, and detailed instructions to support beginners and professionals alike. - Question: Can I colour “TRASPARENTE” resin for jewellery creation?
Answer: Yes, it can be mixed with various pigments to achieve a range of colours for creative effects. - Question: Is the resin safe to use indoors?
Answer: Yes, it is odourless, VOC-free, and certified non-toxic, making it safe for indoor use when adequate precautions like gloves and ventilation are observed.
For more detailed guidance or any complex project assistance, Resin Pro offers free professional support, ensuring you can achieve the best results every time.
Explore the “TRASPARENTE” Multipurpose Casting Clear Epoxy Resin for your next epoxy jewellery creation, and experience the trusted quality that thousands of artists worldwide rely on since 2015.
Examples